
Water on the sofa can be an annoyance, but don’t worry! With the right knowledge and technique, you can successfully remove those stains and repair your bedroom to its former glory. In this comprehensive guide,…
Water on the sofa can be an annoyance, but don’t worry! With the right knowledge and technique, you can successfully remove those stains and repair your bedroom to its former glory. In this comprehensive guide,…
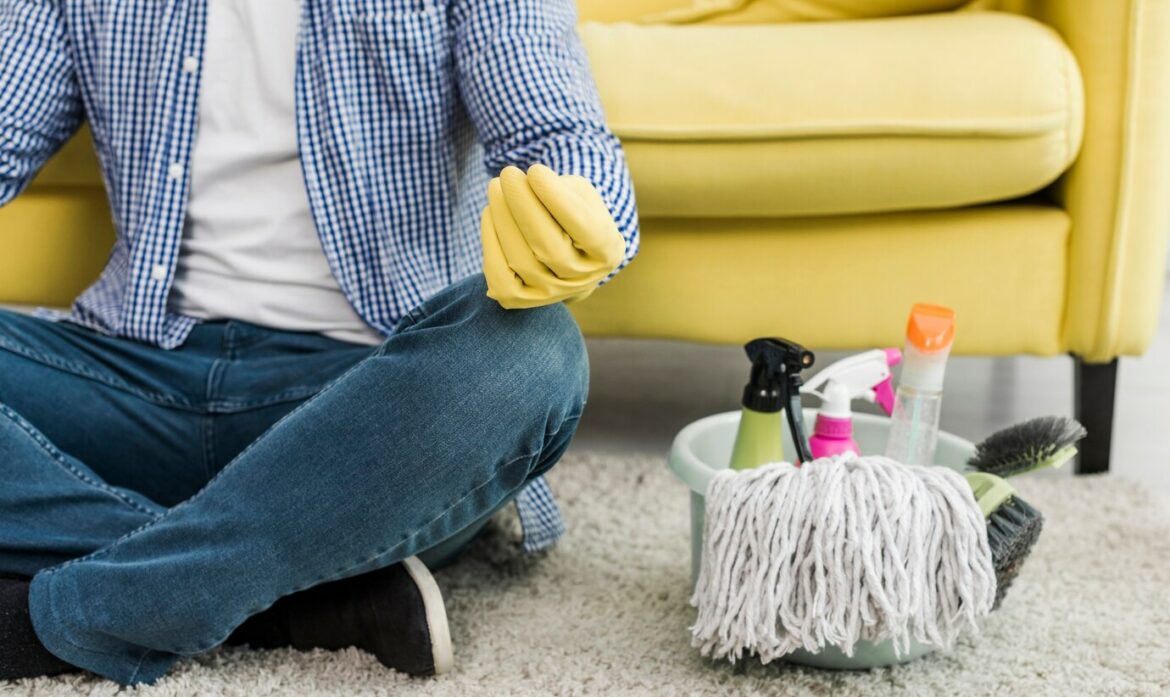
Are you unwell and bored with losing a fortune on business carpet cleaners that make high-quality claims but sadly do supply nothing? Say goodbye to pricey chemical compounds and welcome the electricity of at-home carpet…

Handmade Home Decor Ideas: Crafting Comfort and Transforming Your Space The power of handmade domestic decor to infuse rooms with distinct charm and individuality is remarkable. These precise creations, which might be made with love…
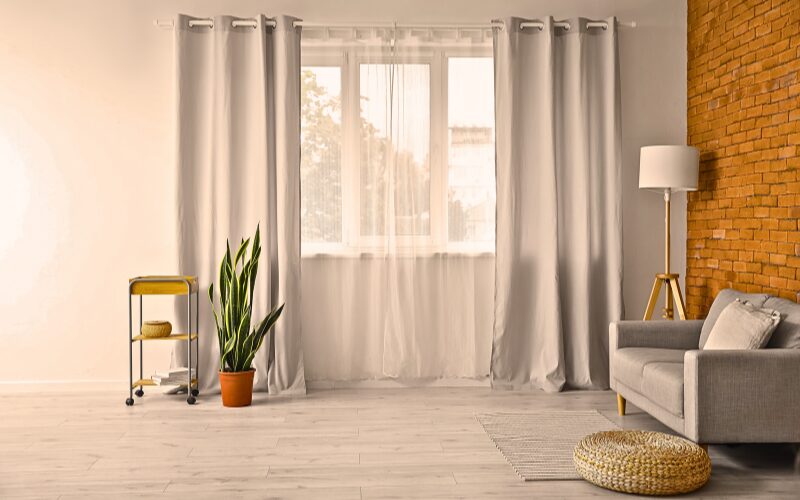
Decorating your dorm room with curtains is a great way to add personality and style to your space. Here’s a step-by-step guide to help you hang curtains in your dorm room: Materials You’ll Need: Curtains…
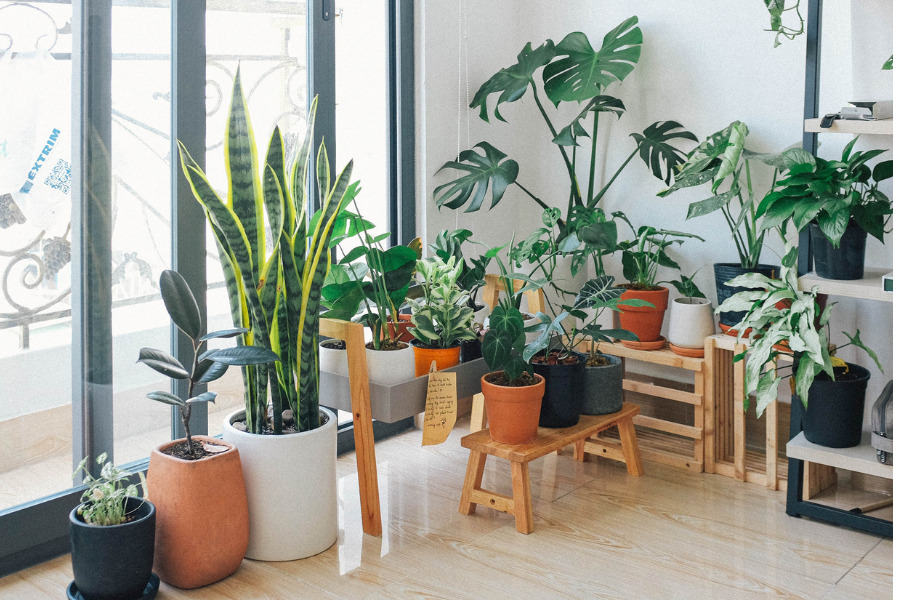
Indoor flowers no longer simplest add beauty to your dwelling spaces however additionally offer numerous health benefits, such as purifying the air by freeing oxygen and removing dangerous pollution. If you’re looking for fine indoor…
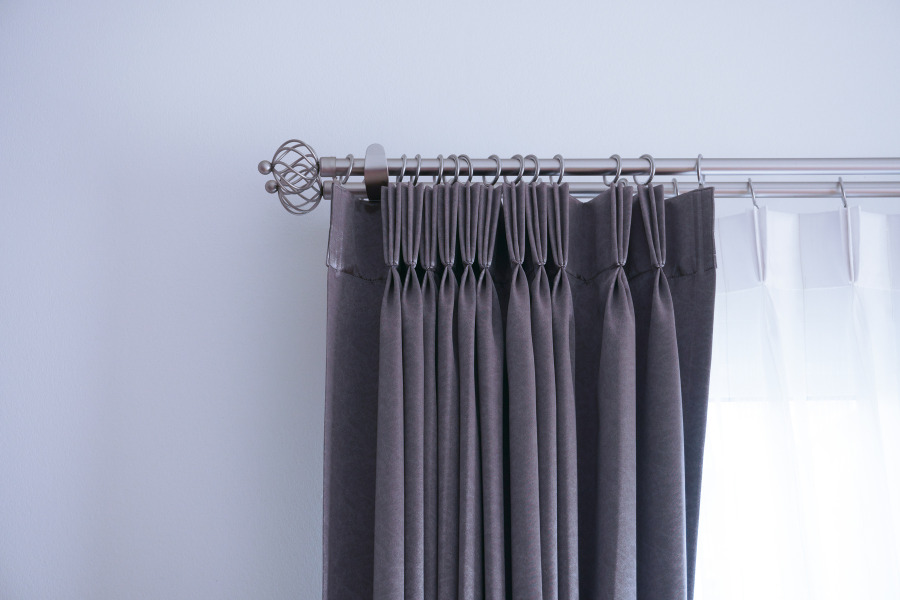
Curtain rods made of wrought iron are strong pieces of decorative hardware used to hang blinds and curtains. They are made from hand-forged and hand-shaped iron. These rods, which are famous for their classic elegance,…
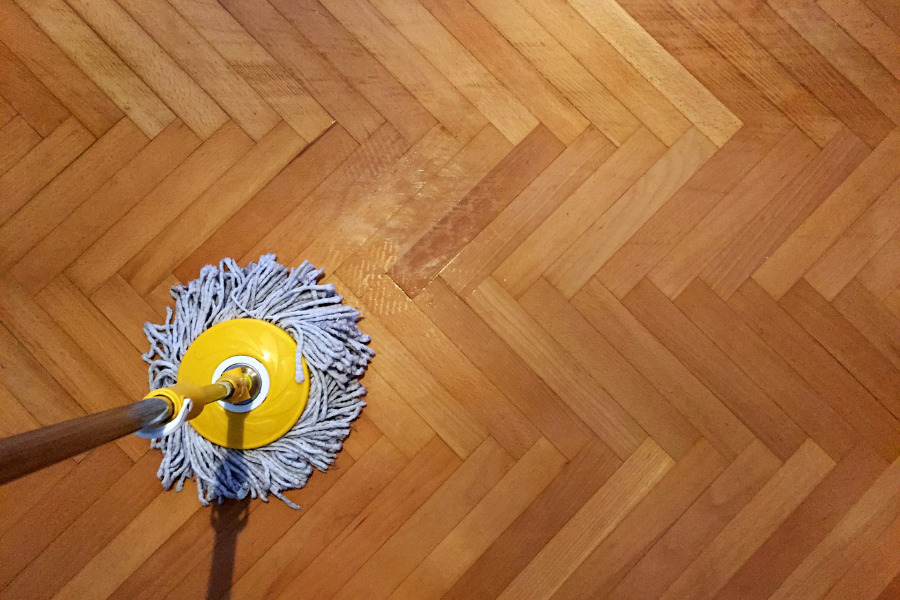
Introduction: Laminate floors have become a popular choice for homeowners due to their durability, affordability, and aesthetic appeal. To keep laminate floors looking their best, it is crucial to use the right cleaning solution. With…
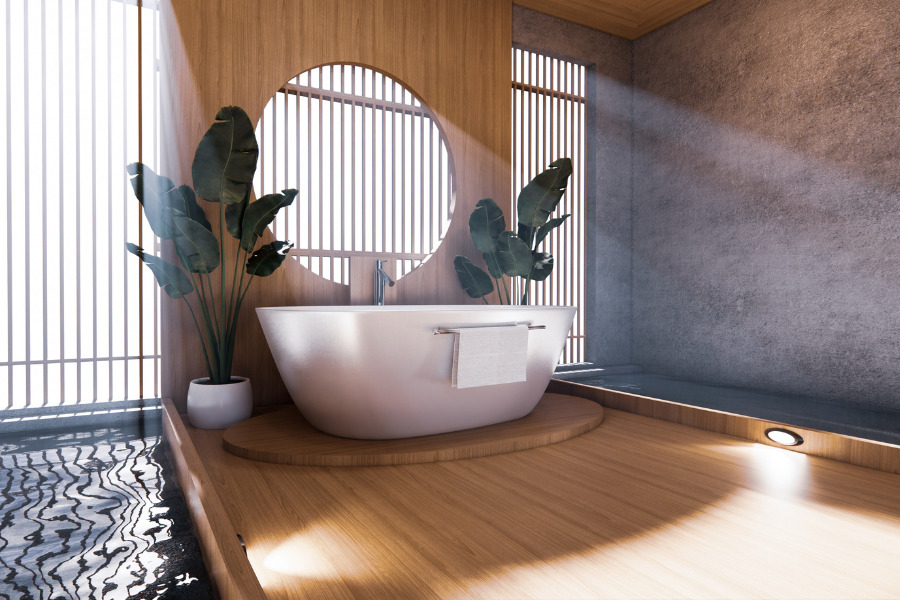
You may turn your pool bathroom into a chic getaway, which will make swimming much more enjoyable for you and your guests. Combining clever design elements with useful applications can help you create a space…
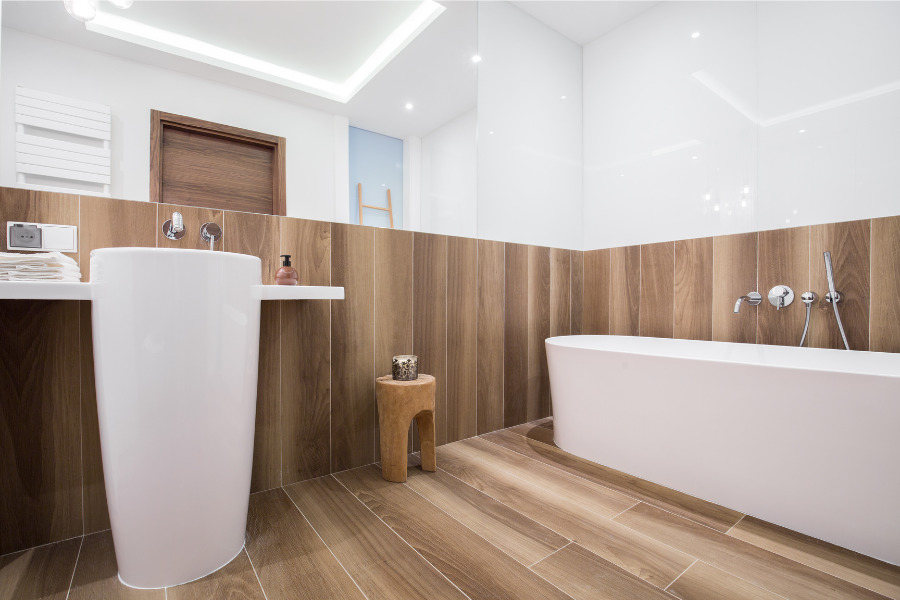
Installing a bathroom in a basement can be a great way to add convenience and value to your home. Whether you’re planning to create a guest bathroom, a home office with a restroom, or a…