
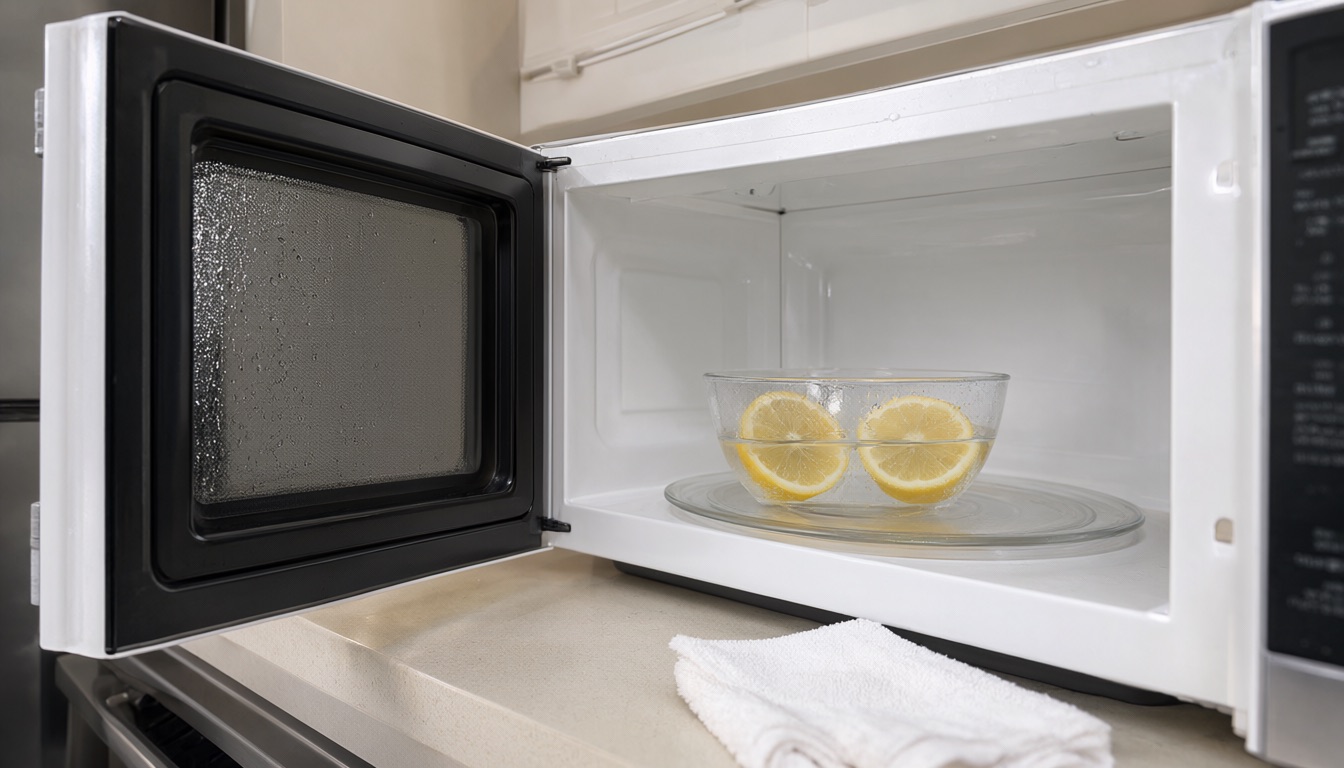
The quickest way to clean the inside of a microwave is to let steam do the scrubbing. Heat a bowl of water with lemon juice or white vinegar until it steams heavily, leave the door shut for about five minutes, then wipe everything down. Dried splatter that wouldn’t budge comes off with a damp cloth. Below is the full method, plus what to do about baked-on spots, the turntable, the ceiling and grease filter, the door, and lingering smells.
What you need
You probably have all of this already. Skip the spray cleaners: mild soap and water are all a microwave interior needs.
- A microwave-safe bowl (glass or ceramic, about 1–2 quarts) so the water has room to bubble
- 1 lemon or 1–2 tablespoons of white vinegar
- A wooden spoon, wooden chopstick or a few toothpicks to stand in the water
- Baking soda for baked-on spots and odors
- Dish soap and warm water
- 2–3 microfiber cloths and a non-scratch sponge
- Oven mitts for lifting out the hot bowl
- Optional: a soft old toothbrush or cotton swabs for corners and the door edge
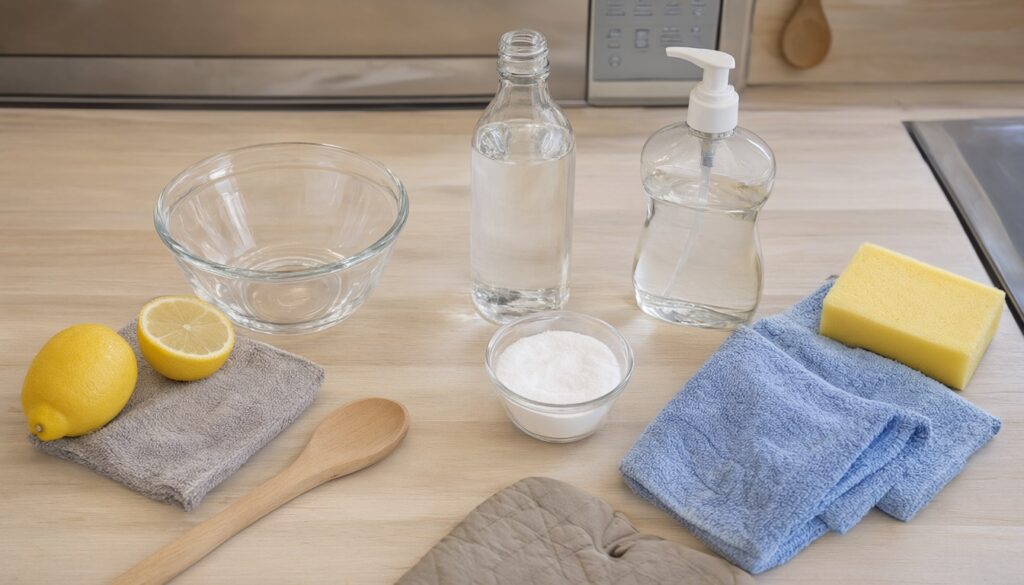
How to steam clean a microwave, step by step
This works for most countertop and over-the-range microwaves, whether the interior is painted, enamel or stainless. Plan on about 15 minutes, start to finish.
- Clear it out. Take out the turntable and roller ring if they have heavy spills and wash them separately (see below). Otherwise, leave the turntable in so the bowl rotates and the steam spreads evenly.
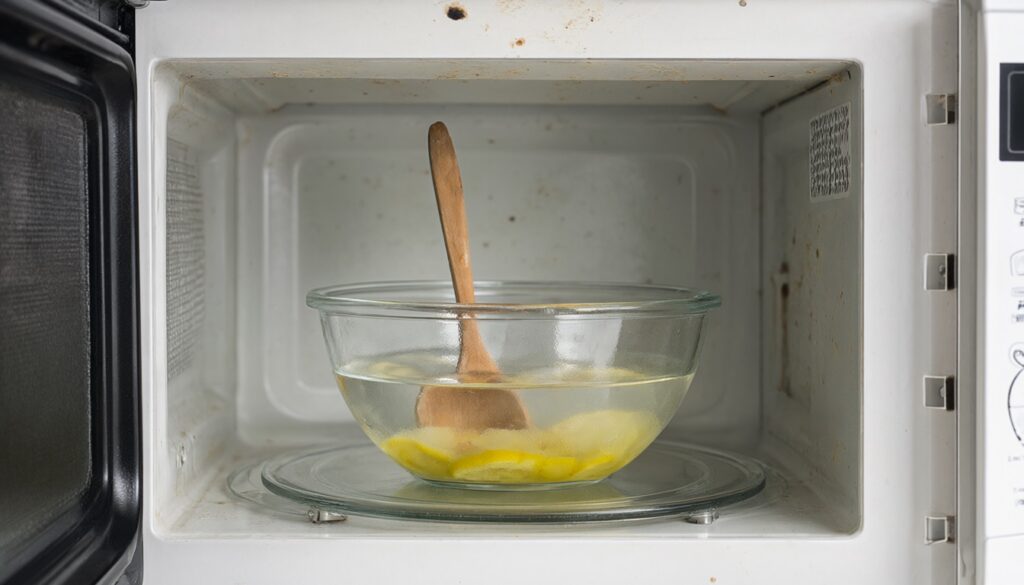
- Fill the bowl. Add about 1–2 cups of water and either the juice of half a lemon (drop the rinds in too) or 1–2 tablespoons of white vinegar.
- Add a wooden spoon or toothpick. It gives bubbles a place to form, which makes it less likely the water will overheat and erupt when you move it (see the safety notes below).
- Heat on high for 3–5 minutes, until the water boils and the window fogs up. Lower-wattage microwaves may need the longer end of the range. Stay nearby so it doesn’t boil dry or over.
- Keep the door closed for 5 minutes. This is the step people skip, and it’s where the steam softens the grime.
- Remove the bowl with oven mitts. Open the door slowly, let the bowl stand a moment, then lift it out and set it on the counter.
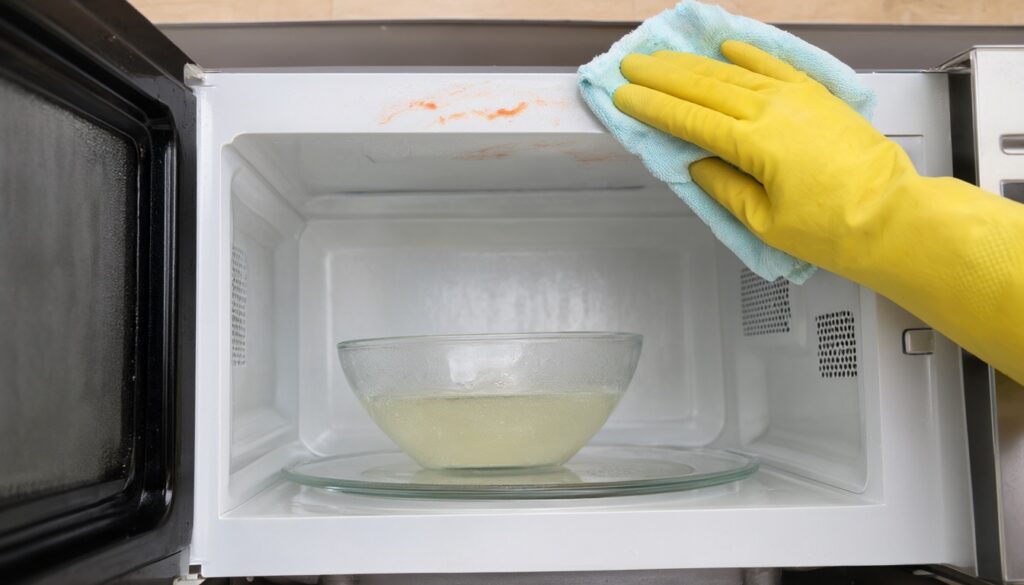
- Wipe from the top down. Start with the ceiling, then the back and side walls, then the floor, so loosened drips land on parts you haven’t cleaned yet. Use a cloth dampened with the warm lemon or vinegar water, or with a drop of dish soap.
- Rinse and dry. Go over everything with a cloth dampened in plain water, then dry with a clean microfiber cloth. Leave the door open for a few minutes to air out.
If your model has a built-in Steam Clean button, follow the manual instead. Those cycles usually ask for a set amount of water in a container and handle the timing for you.
Is the steam method safe? Superheated water cautions
Water heated alone in a clean, smooth container can become superheated: hotter than boiling but not bubbling. A small bump can then make it erupt out of the bowl. The FDA has received reports of serious burns from this, and it notes that adding something to the water before heating greatly reduces the risk. To stay safe:
- Use a microwave-safe glass or ceramic bowl that’s at least twice as big as the amount of water.
- Add the lemon or vinegar before heating, and stand a wooden spoon or toothpick in the bowl.
- Don’t heat longer than you need to. Stop once it’s steaming heavily.
- Let it stand with the door closed before you open it, then open the door slowly and away from your face.
- Lift the bowl out with oven mitts and keep your face back from it.
- Keep kids away from the microwave during the steam step.
Other ways to clean a microwave: vinegar, lemon, baking soda and dish soap
All of these use the same basic idea: soften, then wipe. Pick based on how dirty the microwave is and which smell you’d rather have in the kitchen.
How to clean a microwave with vinegar
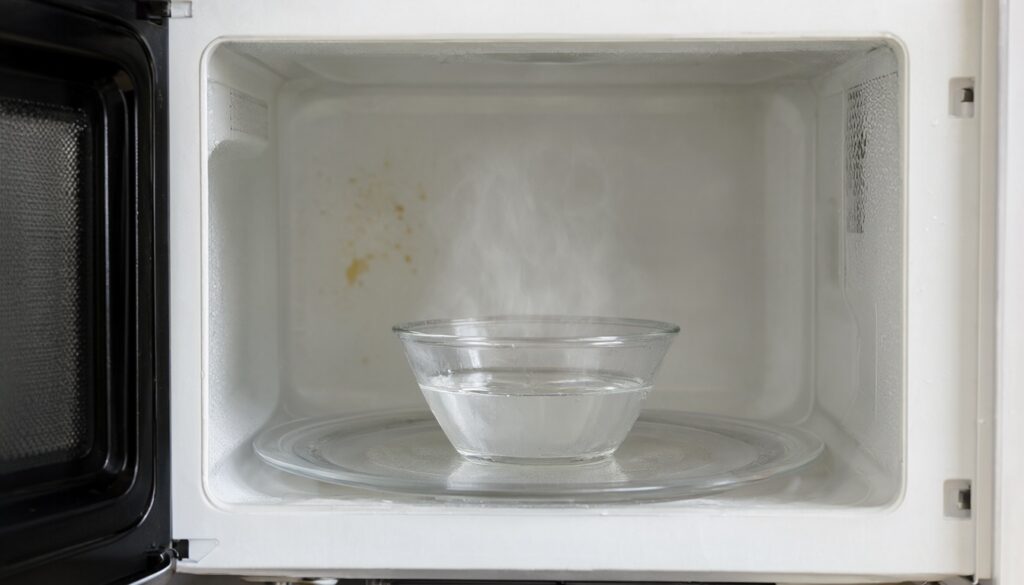
Vinegar is the strongest of the easy options for greasy film. Use 1–2 tablespoons per cup of water for regular cleaning. For heavy grease, you can go up to equal parts water and vinegar, though the smell will be stronger. It’s the same white vinegar many people use to descale a Keurig, so one bottle covers both jobs. Steam as above, then wipe. If the vinegar smell lingers, leave the door open for a few minutes or do a quick second round with lemon.
How to clean a microwave with lemon
Lemon is the most pleasant-smelling choice and works well for regular cleaning and light splatter. Halve a lemon, squeeze the juice into 1–2 cups of water and drop both halves in. After steaming, you can use a squeezed lemon half to rub at any spots that are still sticky, then wipe with a damp cloth.
How to clean a microwave with baking soda
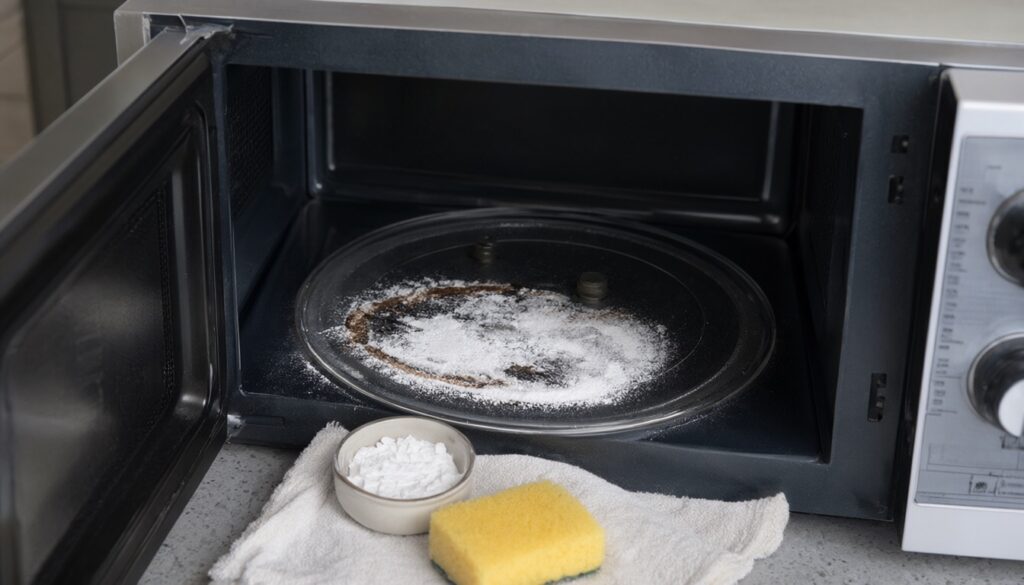
Baking soda paste is for the spots steam doesn’t lift: burnt-on cheese, dried sauce, a sugary spill that hardened. Mix 2–3 tablespoons of baking soda with just enough water to make a thick paste. Spread it on the spot (ideally right after steaming, while the area is still warm and damp) and leave it for 5–10 minutes. Then work it gently with a non-scratch sponge, wipe away the residue and rinse with a clean damp cloth. Repeat rather than scrubbing harder.
Dish soap and warm water for everyday wipes
For fresh spills and weekly upkeep, a cloth wrung out in warm water with a drop of dish soap is enough. The FDA recommends exactly this, cleaning the oven cavity, its outer edge and the door regularly with water and a mild detergent, and not using scouring pads, steel wool or other abrasives. Wipe with plain water afterward so no soap film is left behind.
Which microwave cleaning method should you use?
| Method | Best for | Time | Notes |
|---|---|---|---|
| Lemon steam | Light splatter, regular cleaning, mild odors | About 10–15 min | Most pleasant smell; less punch on heavy grease |
| Vinegar steam | Greasy film, heavier splatter | About 10–15 min | Strong smell while it works; air out afterward |
| Baking soda paste | Baked-on and burnt spots | About 10–20 min per spot | Use after steaming; gentle sponge only |
| Dish soap and water | Fresh spills, weekly wipe-down | About 5 min | Rinse well so no soap film is left |
| Built-in Steam Clean cycle | Routine cleaning, if your model has it | Varies by model | Follow the manual for water amount and container |
How to clean the microwave turntable and roller ring
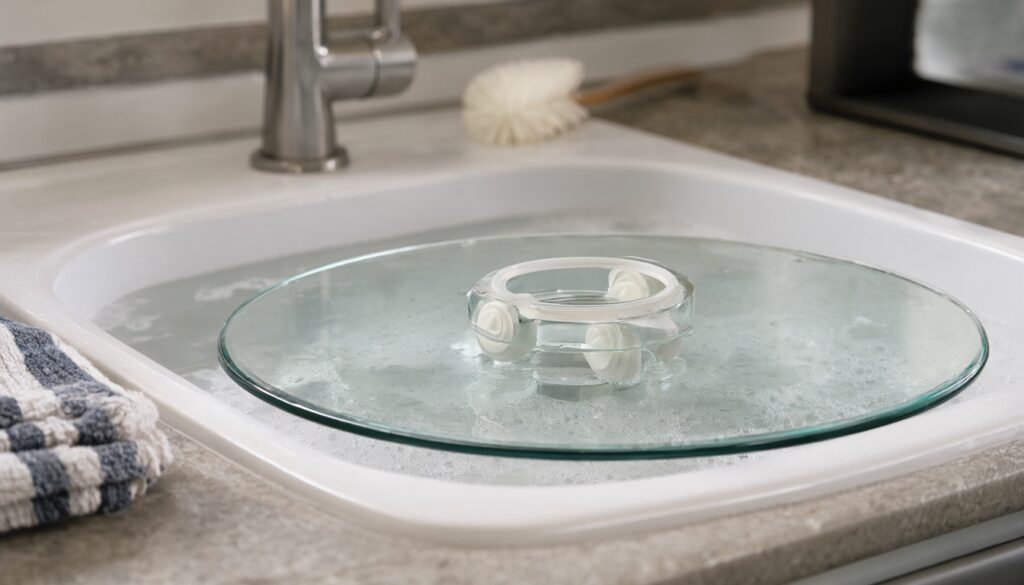
Let the glass turntable cool before washing it, because hot glass can crack in cold water. Wash it in warm soapy water, or in the dishwasher if your manual says it’s dishwasher safe. Underneath sits the roller ring (the small wheeled support). Lift it out, wash it in soapy water, check that the wheels spin freely, and dry it completely.
While both are out, wipe the floor of the cavity and the small drive coupling in the center, which is where crumbs and drips collect. Put the roller ring back in its proper position before setting the plate on top. Samsung’s care guide suggests washing the turntable weekly and the roller ring monthly, which is a sensible rhythm for most households.
How to clean the microwave ceiling, vents and grease filter
The ceiling
The ceiling collects the most splatter and is the easiest to miss. Clean it first, right after steaming, while the grime is soft. If you can’t see it well, use a flashlight. Wipe with a damp cloth rather than a dripping one, and work around any light cover or vent slots instead of pushing water into them. If your over-the-range model has an interior light cover, check the manual before removing it.
The grease filter on over-the-range microwaves
Over-the-range microwaves also act as a range hood, with metal mesh grease filters on the underside. These need regular cleaning; Samsung’s guide says monthly.
- Turn off the vent fan and make sure the stovetop below is cool.
- Slide or unclip the filters out (check your manual; most pull out by a small tab).
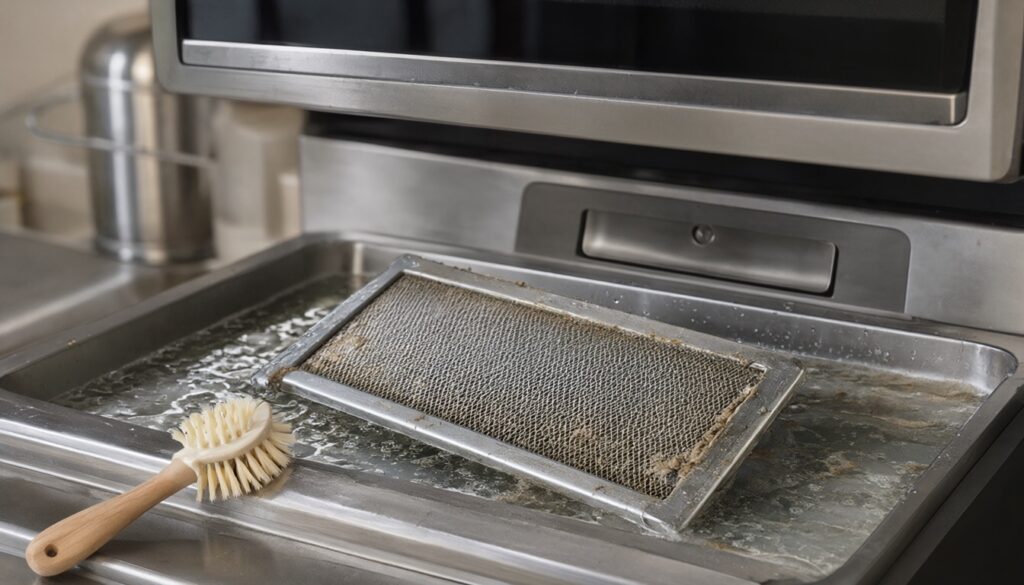
- Soak them in a sink of hot water with dish soap, and add a few spoonfuls of baking soda for heavy grease. Give them at least 10–15 minutes.
- Scrub gently with a soft brush, rinse in hot water and let them dry fully before reinstalling.
Only put filters in the dishwasher if your manual says it’s safe; some manufacturers say it isn’t. If your microwave recirculates air instead of venting outside, it also has a charcoal filter. That one can’t be washed: replace it, typically every 6–12 months. While you’re up there, grease from cooking also settles on the cabinets around the microwave, and our step-by-step guide to cleaning kitchen cabinets covers that.
How to clean the microwave door, seal and window
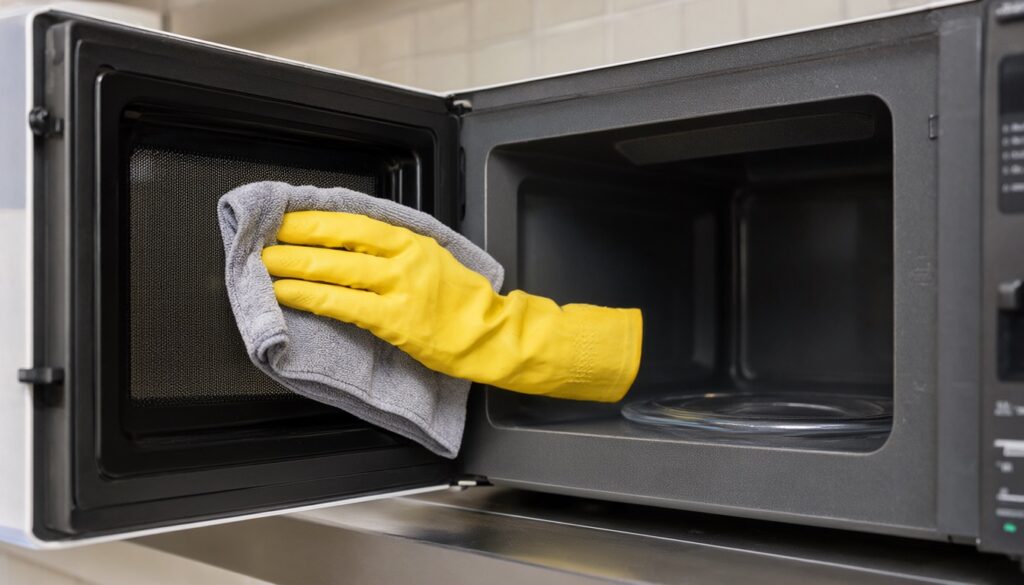
The door matters more than it looks: it has to close flat and firmly. Wipe the inside of the door, the window and the flat border around it with a damp, soapy cloth, then rinse and dry. Pay attention to the edge where the door meets the front of the cavity, because built-up gunk there can keep it from closing properly. Use a soft toothbrush or a cotton swab for the crevices, never a knife or anything metal.
For the outside of the window, spray glass cleaner onto a cloth, not onto the microwave. If the door looks bent, warped or damaged, or won’t latch firmly, stop using the microwave and contact the manufacturer; the FDA advises against operating a microwave with a damaged door.
The exterior and control panel
Unplug the microwave before cleaning the outside or the control panel, so you can’t start it by accident and no moisture reaches live parts. Wipe the keypad with a slightly damp cloth and dry it right away. Don’t spray anything directly on the panel or near the vents.
How to get rid of microwave smell
Smells linger because food residue is still in there somewhere, so clean first, then deodorize.
- Repeat the steam. A second round with lemon often clears a vinegar smell or a mild food odor.
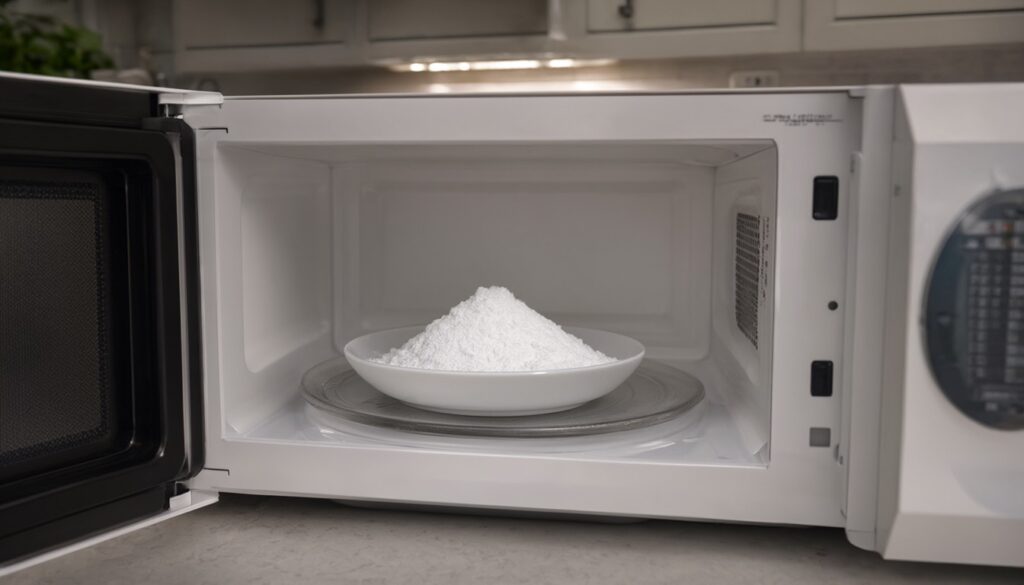
- Leave baking soda overnight. Put a shallow dish of dry baking soda inside, close the door and leave it overnight. Don’t run the microwave with it in there.
- Try coffee grounds or vanilla. A dish of dry coffee grounds left overnight, or a cloth wiped with a little vanilla extract and water, can cover stubborn odors. Throw the grounds out afterward.
- Air it out. Leave the door open for an hour or so after cleaning.
Burnt popcorn is the toughest smell. It usually takes a full clean, including the ceiling, the door edge and the turntable, plus a night or two of baking soda. If a burning smell appears when nothing is burning, stop using the microwave and have it checked.
What not to do when cleaning a microwave
- No steel wool, scouring pads or abrasive powders. They scratch and remove the interior coating.
- Don’t spray cleaner into the cavity or the vents. Liquid in the vent slots can reach electrical parts. Apply cleaner to a cloth instead.
- Don’t run it empty. Manuals warn against it because there’s nothing to absorb the energy. Always have the bowl of water inside when steaming.
- No metal inside: no metal scrapers, foil-wrapped sponges or metal bowls.
- Don’t scrape off the interior coating with a knife or razor to get at a stubborn spot. Use steam and baking soda paste, and repeat.
- Leave the waveguide cover alone. It’s the small flat panel (often cardboard-like mica) on an inside wall or ceiling. It shields the part that makes the microwaves. Wipe it gently like the walls, but don’t remove it, soak it or cover it with foil or tape. Samsung notes that removing it will damage the microwave and void the warranty. If it’s burnt, cracked or sparking, replace it before using the microwave again.
- Avoid bleach and harsh solvents such as ammonia or paint thinner on any part of the microwave.
Stainless steel and painted interiors
- Painted or enamel interiors (most microwaves): stick to soft cloths and non-scratch sponges. If you see chipped paint or bare metal, don’t scrape at it. Exposed metal can cause sparking, so check your manual or contact the manufacturer. Some sell cavity touch-up paint for specific models; ordinary spray paint is not a substitute.
- Stainless steel interiors (common in convection models): wipe in the direction of the grain and use mild soap rather than exterior stainless polish, which isn’t meant for inside the cavity. The same grain-and-gentle rule applies to stainless steel sinks.
- Stainless steel exteriors: use a microfiber cloth, follow the grain, and spray any cleaner onto the cloth first.
A weekly routine to keep your microwave clean
A few small habits mean you’ll rarely need a deep clean:
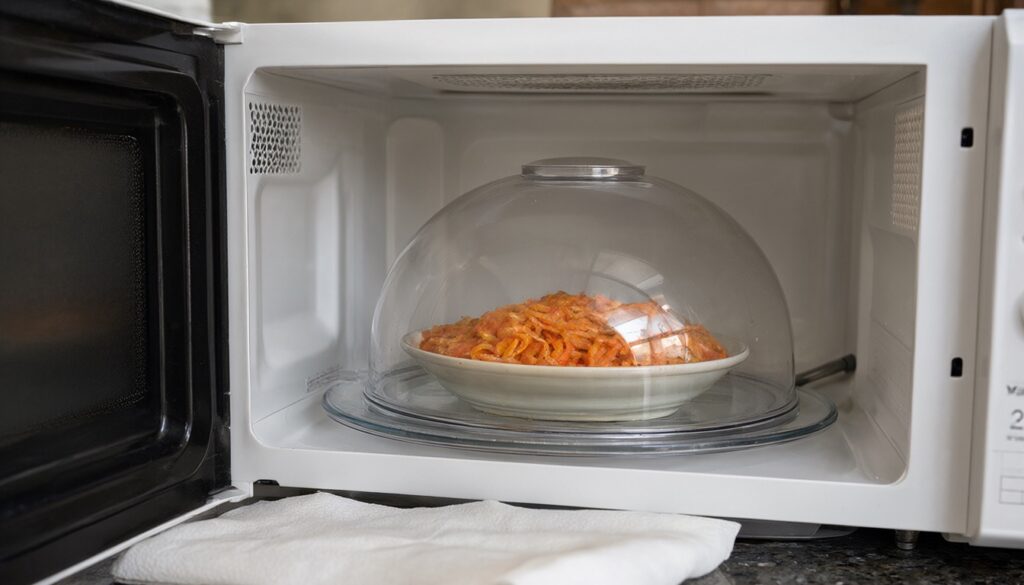
- Cover food with a vented microwave cover, a microwave-safe plate or a paper towel. This prevents most splatter.
- Wipe spills while they’re fresh, once the microwave has cooled for a minute. Fresh spills come off in seconds; baked-on ones take steam and paste.
- Do a quick wipe once a week with a soapy cloth, top to bottom, and wash the turntable.
- Steam clean every few weeks, or whenever you notice splatter on the ceiling.
- Monthly: clean the roller ring and, on over-the-range models, the grease filters.
If your countertop appliances are getting the same attention, a toaster oven builds up grease the same way; here’s how to clean a toaster oven heating element safely.
FAQ
What is the fastest way to clean the inside of a microwave?
Steam. Heat a bowl of water with lemon juice or vinegar on high for 3–5 minutes, leave the door closed for 5 minutes, then wipe from the ceiling down. Most microwaves are clean in about 15 minutes.
Is it better to clean a microwave with vinegar or lemon?
Both work the same way. Vinegar is better on greasy film and heavier splatter. Lemon is gentler and smells nicer, so it suits regular cleaning. For a really dirty microwave, steam with vinegar first and finish with a lemon round to clear the smell.
How do you get baked-on food off the inside of a microwave?
Steam first to soften it, then spread a thick baking soda and water paste on the spot, leave it 5–10 minutes and work it with a non-scratch sponge. Repeat if needed. Never scrape it with a knife or use steel wool, because you can damage the interior coating.
How often should you clean your microwave?
Wipe up spills as they happen and do a quick soapy wipe weekly. Steam clean every few weeks or whenever the ceiling looks spattered, and clean over-the-range grease filters about once a month.