How to Build a Shower Niche
Are you interested in creating a shower niche in your bathroom? But how to build a shower niche? Well, you need to proceed with a few steps for building a custom shower niche.
Here is the quick step-by-step guide to help you build a shower niche:
Step 1: Determine the Shower Niche’s Size and Location
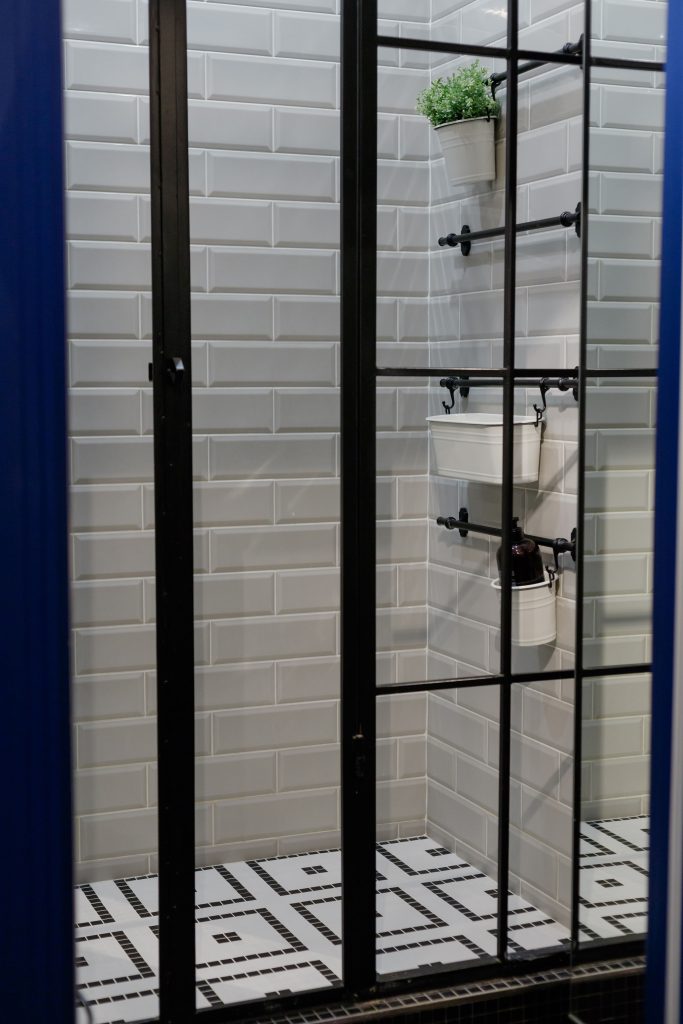

You must choose the size and location of your custom shower niche before you can start building it. Shower niches can be categorized into two groups: horizontal and vertical, as you’ll see.
Step 2: Shower niche frame
To finish the framing procedure and improve the shower niche’s visual appeal, you must remove the portion of the wall that is beneath the niche. Nevertheless, because this process is so sensitive, you should exercise particular caution. Otherwise, you risk damaging the drywall on the wall’s opposite side.
Step 3: Waterproofing
Consider applying a thin coating of mortar with a thickness of about 14 inches to the base of your shower niche to make it watertight. To ensure that the shower drains effectively, you must ensure that it is suitably inclined outward.
Also read: What’s The Ideal Height And Design For A Shower Niche?
You should have a slope from the back to the front of around 1/16 inches if you want the best results. The shower pan seams can then be installed close to the base of your shower niche.
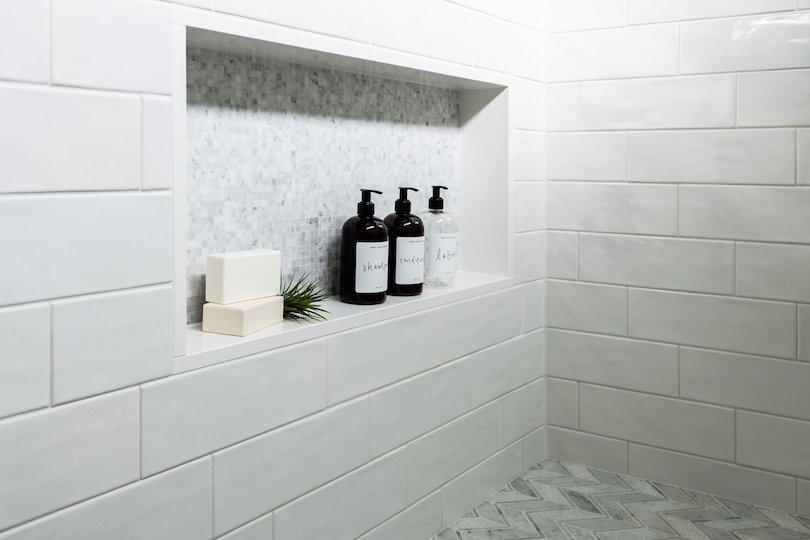
Step 4: Install the shower niche’s tiles and shelves.
You are now at the stage where you may continue and put in the shower niche tiles and additional shelves. You are free to choose any type of tile that suits your interests, but we advise going with something like composite marble. On various sides of your shower niche, you can expose the edges of the tiles.
Step 5: Add grout
After the tiles are installed, you may start grouting. You could want to use pre-sealed grout. Prior you applying it to the full shower niche, make sure to test it out on a small portion of your space so you can perfect your application technique. On all surfaces, though, you must make sure that the grout is correctly applied.
Now that you know how to build a shower niche, you can proceed with it in any design you like. If you have anything in mind or want to add more to these steps, do share it with us in the comments below.