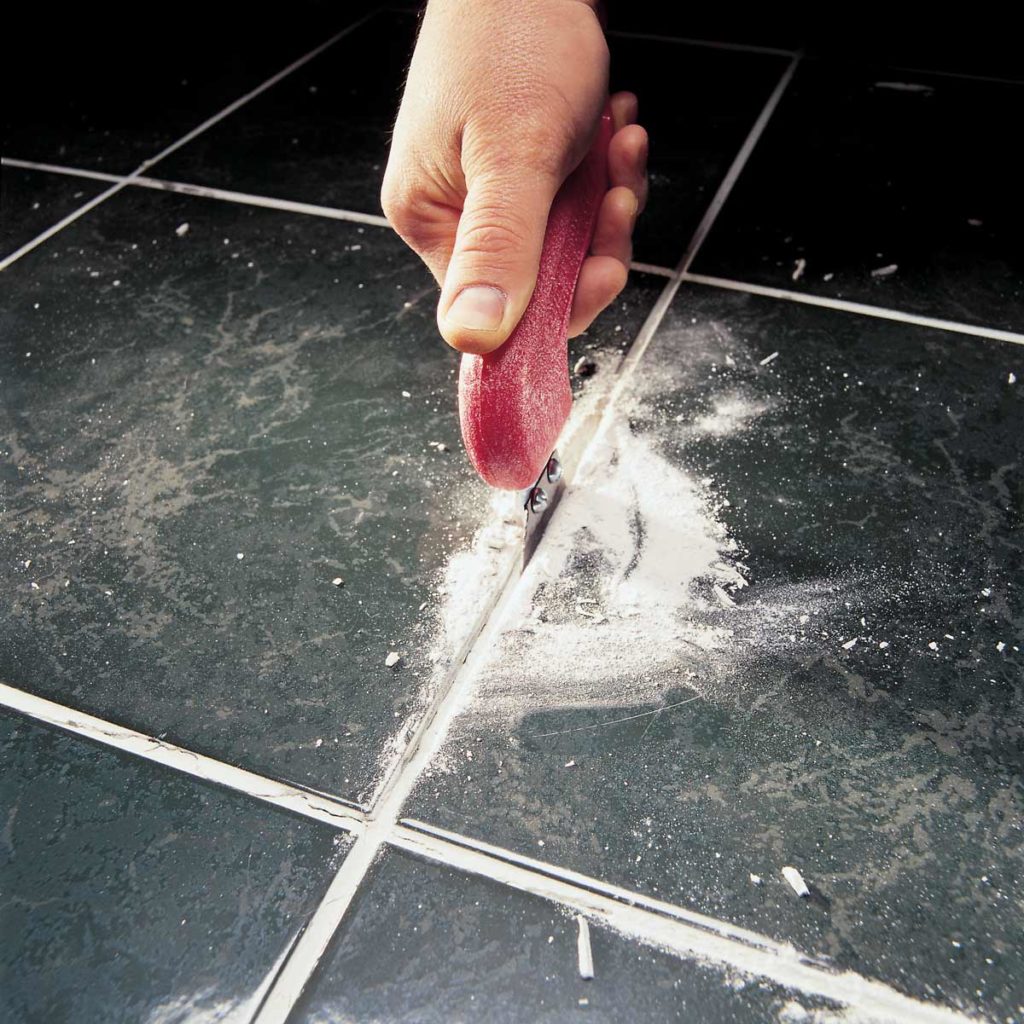
How to Fix Broken Floor Tile
Adulting is a hard task. Not only do you have to take care of yourself and your basic needs, but you also need to talk about the care of your house. We understand that taking care of a house is a bigger deal for you don’t really know how to get most of the stuff done, like repair work. This is why at Pepuphome, we always strive to present to you easy DIY methods “Fix Broken Floor Tile” to take care of the numerous mechanical hassles that we come across on a regular basis.
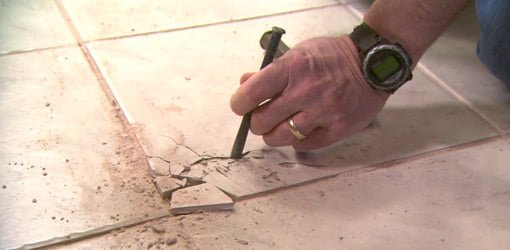
Today, we discuss some effective ways you can fix a broken floor tile. A broken floor tile looks really ugly, and more often than not, you have the heart to change the flooring altogether. That’s not a wise thing to do. Follow the steps given below to efficiently take care of the broken tile, and make your house spotlessly clear as ever –
1. Paint over the crack
If your tile has a hairline crack, you can easily take care of it by painting that area in the same color as its base. Of course, this method does not fix the crack per se, hence it is best applicable to really minor hairline cracks. Make sure you use a tile filler and paint mix in order to not let the crack extend in the future.
2. Apply glaze over the area
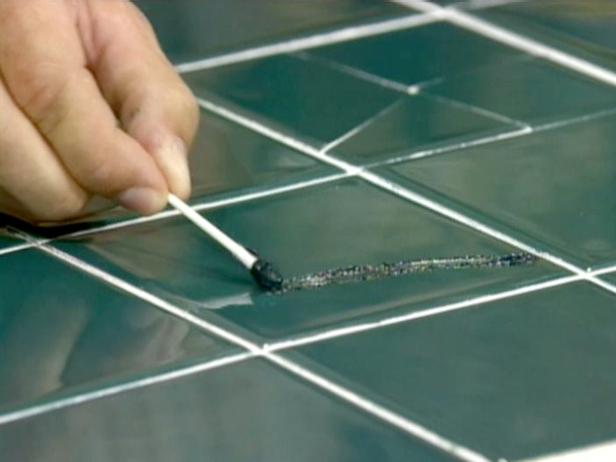
One of the best methods to fill the crack efficiently and debar it from extending further. For this, you would have to start by sweeping and mopping the floor efficiently. Make sure there is no trace of dirt for if you glaze on any piece of dirt, it will forever remain engraved in the tile. Wait till the tile gets dry before you start applying the glaze. Make sure you glaze all the other tiles in order to match the repaired one. You may also combine the first point with this one to get maximum benefit. This process may look tad bit of an investment, but it is far better than changing the entire flooring.
3. Use epoxy in the cracked bit
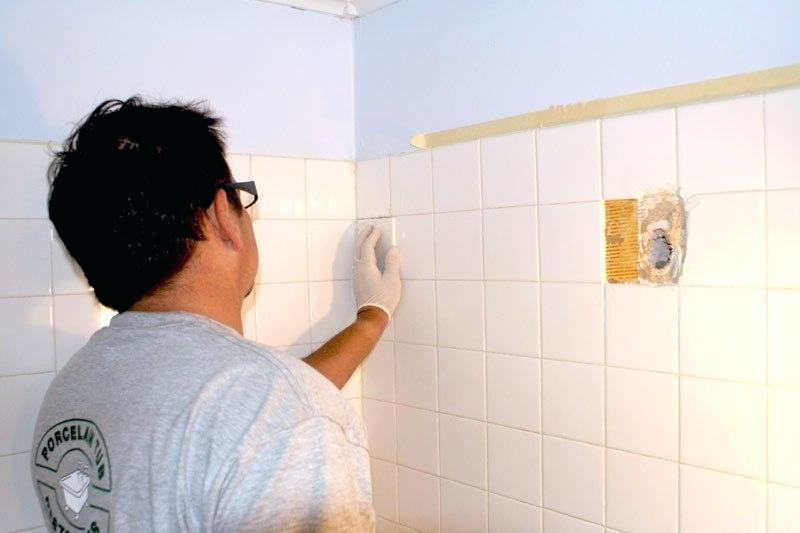
A strong-holding epoxy specifically created to hold together stones and other porous materials is great for repairing tiles. For this, you would need a two-part epoxy (two products that should be mixed together to activate), which would serve as the tile-filling glue. This method is also fairly simple but works wonders for even larger and visible cracks alongside the hairline cracks. For the entire DIY using epoxy, please visit here.
4. Replace the tile
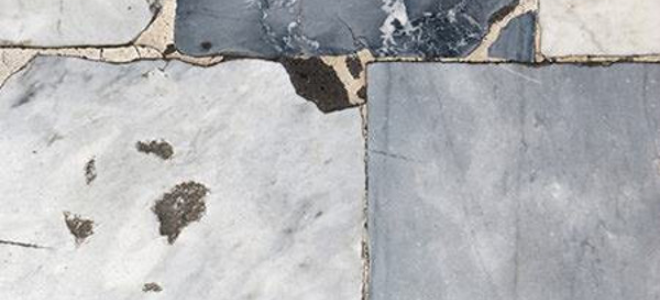
If you feel the crack is too large and has literally shattered your entire tile, replacing it with a new one might be the only option left. However, before plucking out the tile, make sure you find the same design tile somewhere. Going about the process, you need to break the tiles into small pieces using a hammer. Thereafter, chisel out the broken fragments. Do scrape away the adhesive underneath with a putty knife and clean that area efficiently to get a flat surface to fix on a new tile. Although you can do this process yourself, a helping hand may be wonderful.
