How to Install Shower Niche
Building a new bathroom or planning to renovate the existing one? One feature that you must consider adding is a shower niche. It does not just make the interior appear exquisite but it’s also a very practical feature. After all, a shower niche enables you to store your shower accessories and shampoo bottles with ease. But how to install a shower niche?
Here we share with you a few simple yet effective tips to install a practical shower niche in your bathroom:
Step 1: Pick a shower niche constructed with high-quality materials

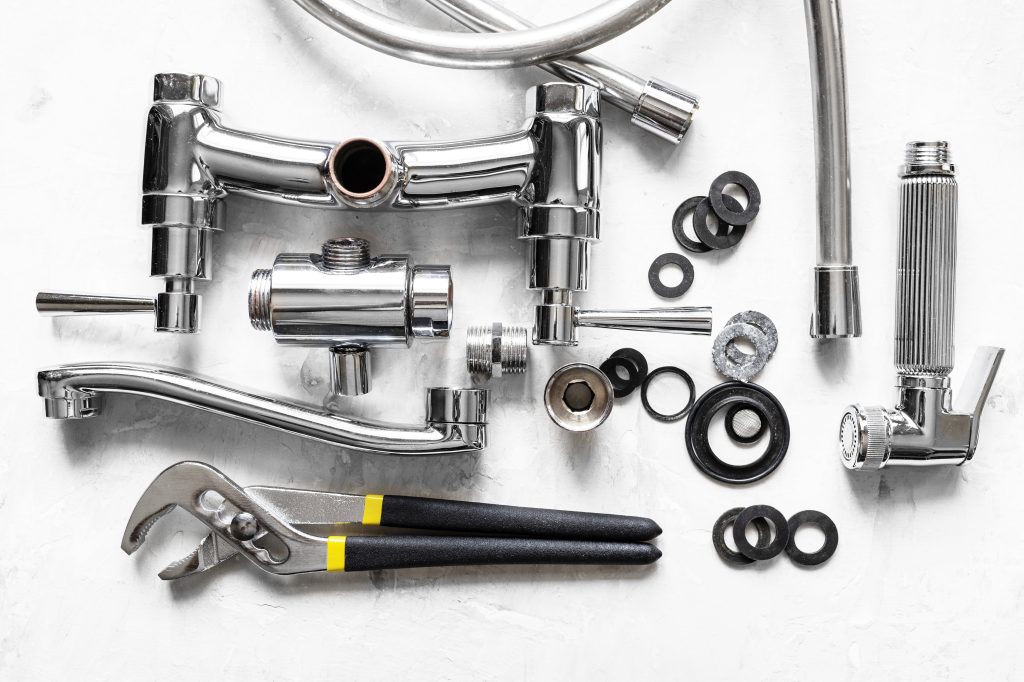
The fact that shower niches frequently cause water leaks is a regular criticism from builders. With high-quality water-tight prefabricated shower niches, this is not the case.
Look for a company that specializes in creating premium components. They are comprised of a solid, high-density, closed-cell polyurethane material that is completely waterproof. They are exactly square for simple installation.
Some shower niches are already pre-coated with a multipurpose water-based primer with exceptional adhesion qualities. Also, look for the terms and conditions, as well as product descriptions before buying a specific shower niche.
Step 2: Take measurements

It’s simple to make sure your shower niche fits the available area. Plan your shower niche first, determining where it will go in the shower. After that, measure the internal and external area carefully to ensure the shower niche has enough space to store your accessories.
Step 3: Place order for shower niche
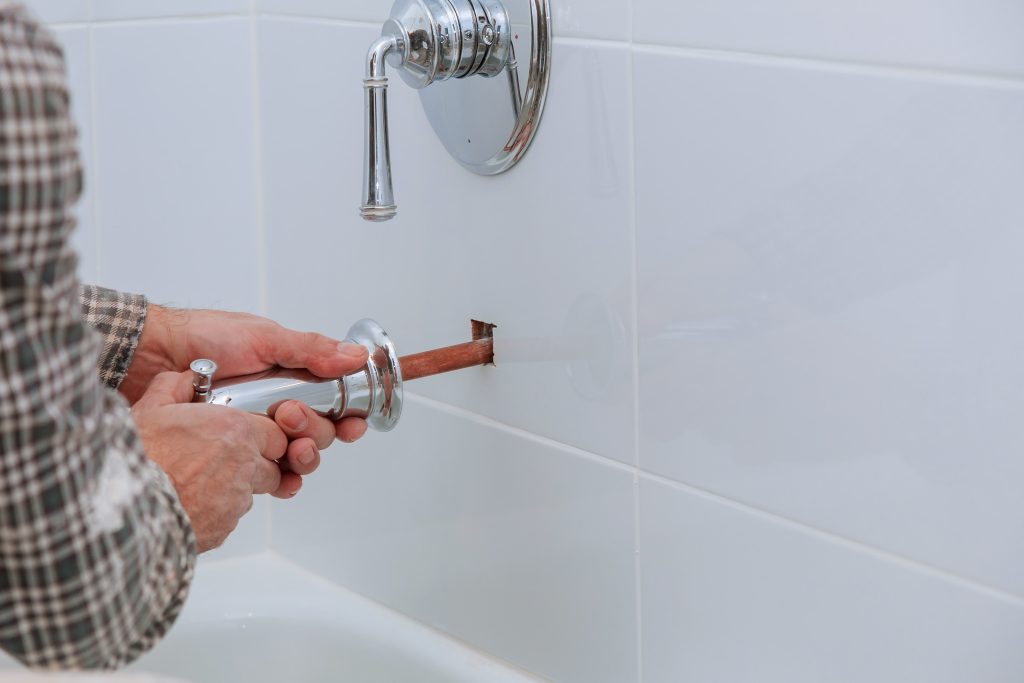
Choose a company that streamlines and simplifies the ordering procedure. You can order through their web store if you’re purchasing a typical niche size.
You can ask for a quotation online if you need something in a specific size or form. Include all of your particular specifications in the form, and the company will respond to you with answers.
Step 4: Install the shower niche
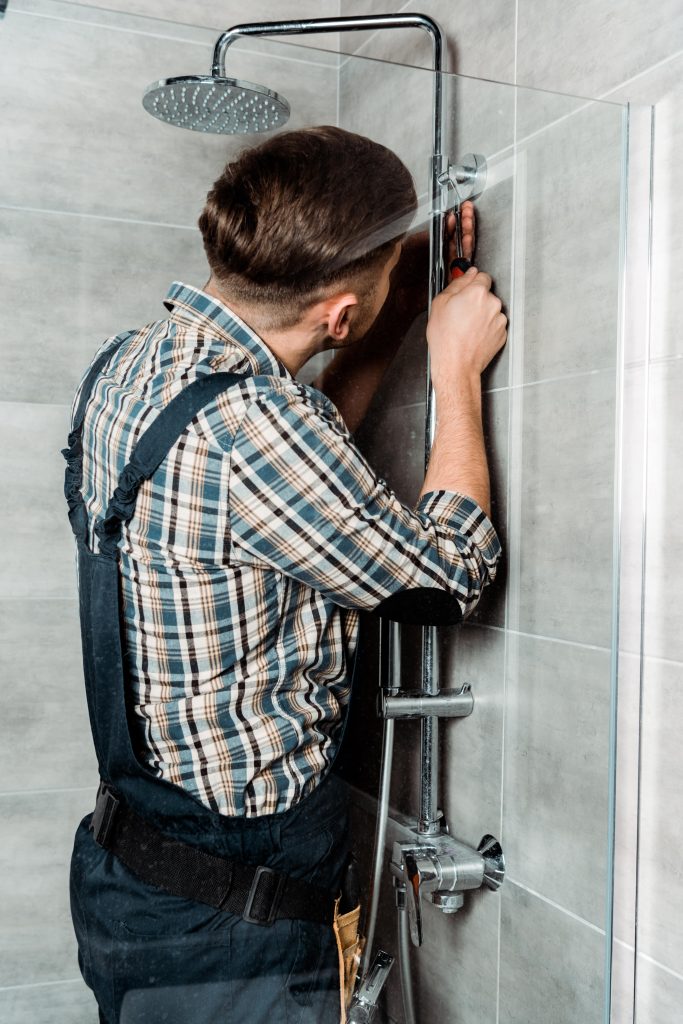
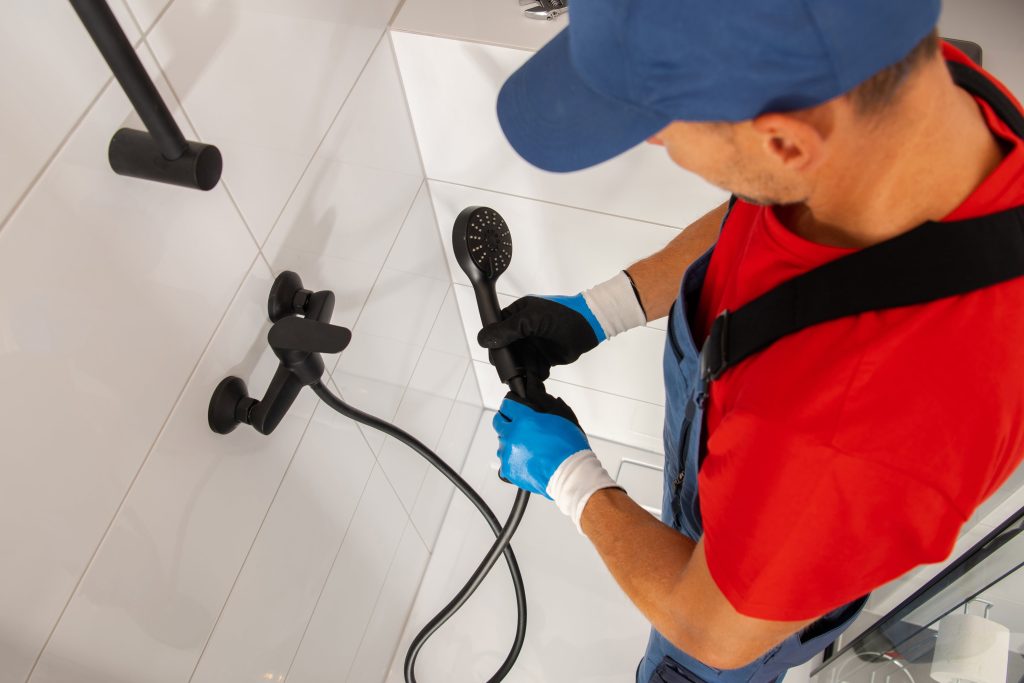
The stages for installing your shower niche are as follows:
To the adjacent framework, apply a solid line of polyurethane adhesive
Put the niche in the appropriate location.
Make sure the installation of niche is even.
Fix using 30mm screws spaced 300mm apart. It’s crucial to only screw through the front reveal.
Cover the tiler top with tiles. But the niche is prefinished, you don’t need it.
Watch the step-by-step tutorial for installation here:
So, here’s how to install a shower niche with an easy step-by-step process. Do give it a try and you’ll realize how simple it was.
