
Paint peels above a bathtub, even when there’s an exhaust fan, because the paint is still getting wet faster than it can dry. Usually the fan isn’t moving enough air outside or isn’t left on long enough, so steam condenses on the cool wall and ceiling above the tub. Sometimes the water isn’t steam at all: shower spray, a failed caulk line at the top of the tile, or a small leak behind the wall. The fix has two halves. First stop the moisture (test and fix the fan, reseal the tile edge, rule out a leak). Then repaint properly: scrape, clean off soap film, dry, prime and use a satin or semi-gloss bathroom paint.
Why does paint peel above the bathtub even with a fan?
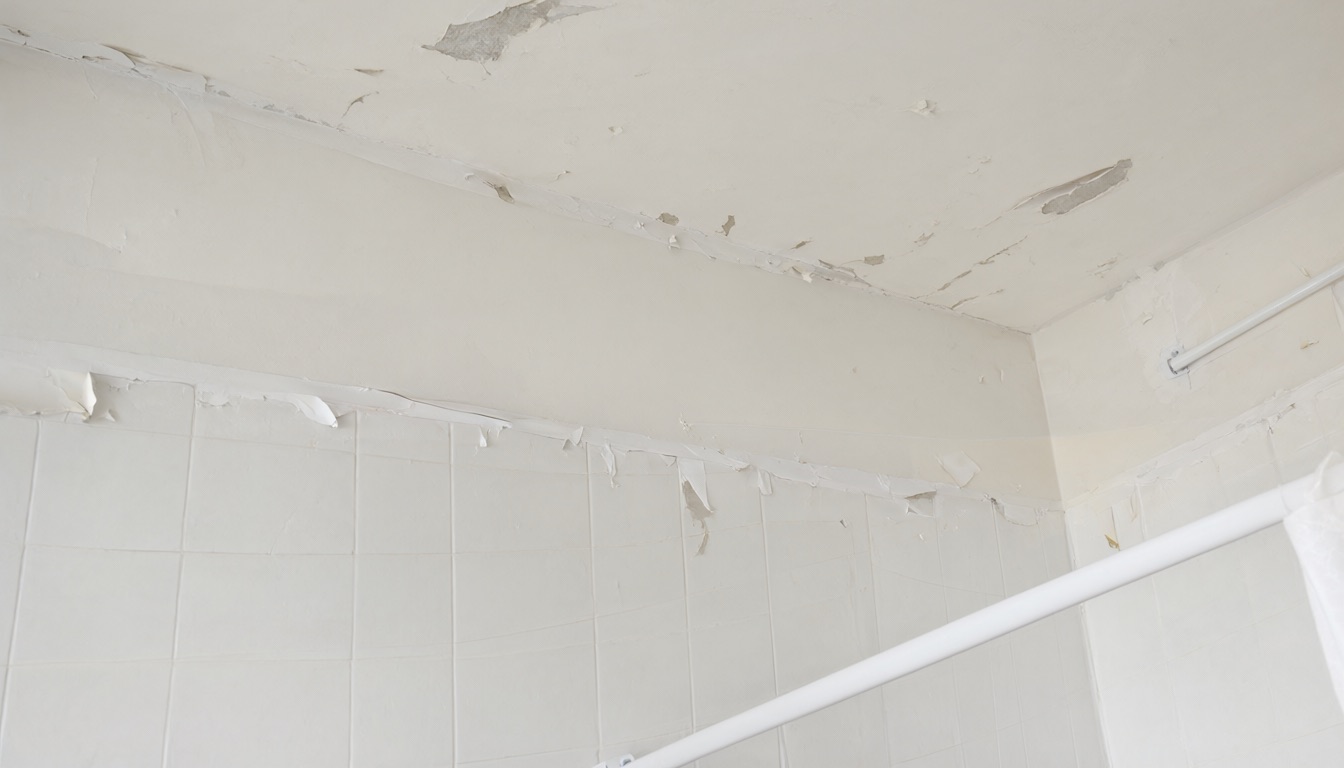
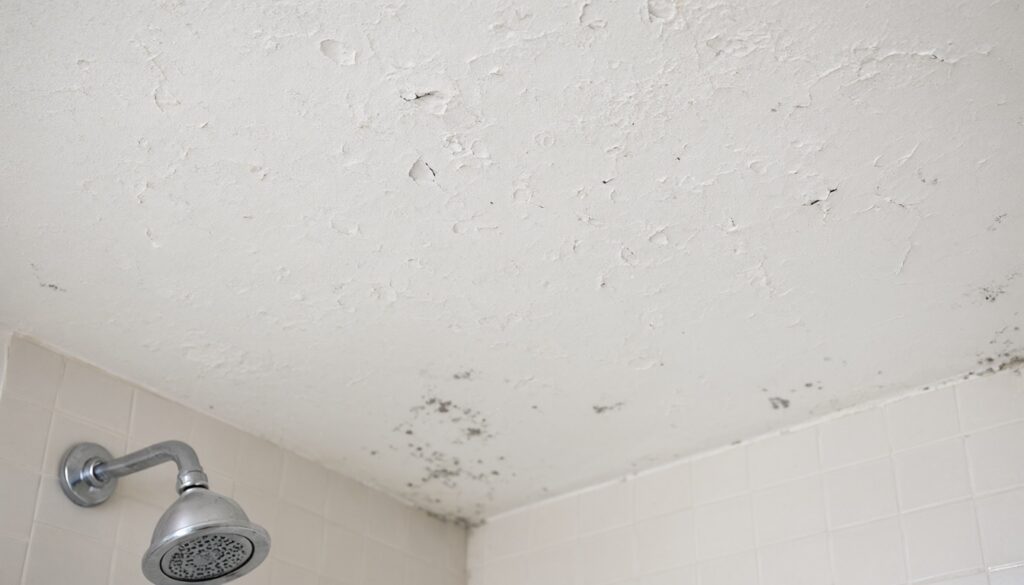
Paint is a thin film stuck to the wall. Water breaks that bond. When warm, steamy air from a shower hits a surface cooler than its dew point, the vapor turns back into water on the paint. Some of it soaks through tiny cracks or porous paint into the drywall paper behind. After enough wet-dry cycles, the paint lets go and starts to bubble, crack and peel.
The wall and ceiling just above a tub get the worst of it. Steam rises straight up from the shower, the ceiling is often the coolest surface in the room (especially under a cold attic), and that strip of painted wall above the tile also gets hit by splashes. A fan helps only if it actually removes that wet air before it settles on the paint. Having a fan isn’t enough. It has to be strong enough, vent outdoors and run long enough.
Common reasons a fan isn’t keeping up:
- It’s too small for the room, or it was never strong enough after a long or kinked duct run.
- It’s turned off too soon. A fan wired to the light goes off when you leave, while the room is still full of steam.
- The duct dumps into the attic, or it’s crushed, disconnected, or blocked by lint and a stuck outdoor flap.
- The door is shut tight. A fan can’t pull air out of a sealed room. It needs air coming in, usually through a gap under the door.
- The grille and blades are clogged with dust, which cuts airflow a lot on small fans.
Is it steam, a leak, or bad prep? Read where it peels
Where the paint fails tells you a lot about why. Before you repaint, match what you see to this table:
| What you see | Most likely cause | What to check |
|---|---|---|
| Peeling or bubbling on the ceiling right above the tub | Condensation from shower steam | Fan airflow and run time; insulation above a cold ceiling |
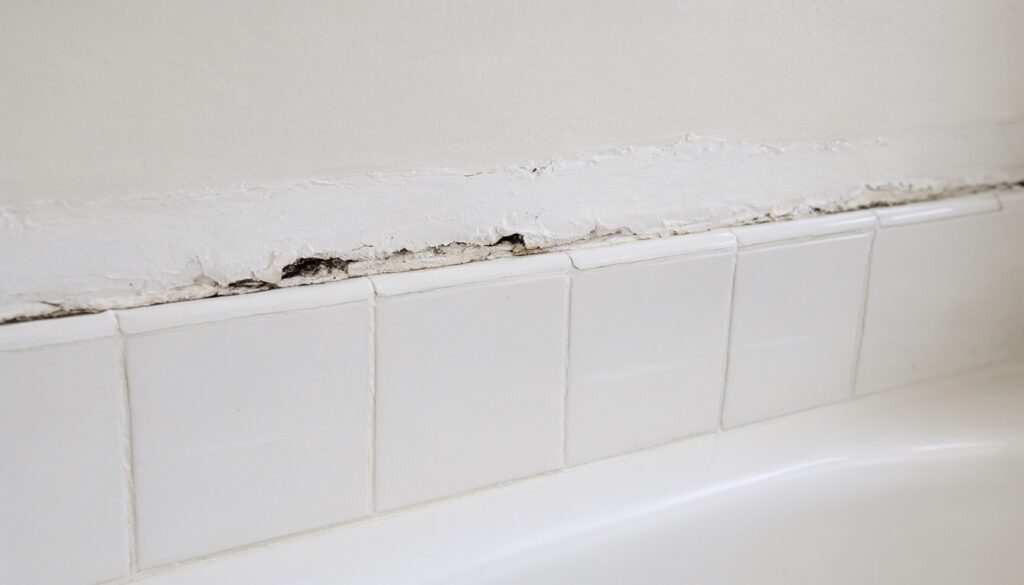
| Peeling in a band just above the top row of tile | Shower spray plus water wicking in at the tile edge | Caulk along the top edge of the tile; spray hitting the wall |
| Paint lifting low down, near the tub edge or faucet wall | Liquid water from failed caulk or a plumbing leak | Tub-to-wall caulk, grout cracks, a leak behind the valve |
| Brown or yellow rings under the peeling paint | Water coming from above or behind | Leaks from a bathroom or roof above; a leaking shower arm |
| Wall feels soft, spongy or sags when pressed | Water is inside the drywall | Leak source; the board likely needs cutting out |
| Black or gray spots under the flakes | Mildew growing under the film | Ventilation; clean the mildew before priming |
| Large sheets peel off cleanly, showing old glossy paint or bare board | Poor adhesion from bad prep | Soap film, no primer, or latex over old oil paint |
| Peeling all over the bathroom, not just near the tub | Room-wide humidity problem | Fan size, run time, and the door gap |
One quick test helps with the “steam or leak?” question. Steam damage is spread over an area and is worst high up. Leak damage usually has a clear edge, a stain ring, and sits close to a pipe, the valve or a seam.
Step 1: Check whether your bathroom fan is actually working
Do these checks before you buy any paint. If the fan isn’t fixed, new paint will peel again.
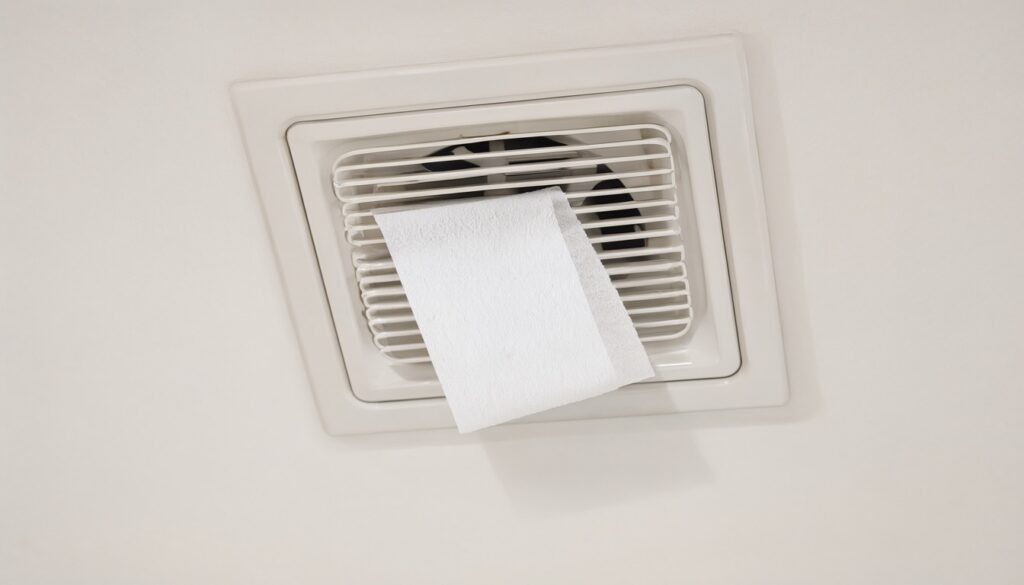
- Do the tissue test. With the fan running and the door open a crack, hold a single sheet of toilet paper just under the grille. A working fan pulls it up and holds it there. If the tissue barely moves, the fan is weak, dirty or blocked.
- Check the outside vent. Go outside (or onto the roof only if it’s safe) and find the vent cap while the fan runs. You should feel air coming out and see the flap open. No air or a flap stuck shut means a blocked or disconnected duct.
- Look in the attic, if you can reach it safely. The duct should run to a roof or wall cap, not end in the attic insulation. The U.S. Department of Energy’s Building America guide on bathroom exhaust fans says the fan should vent outdoors, not into the attic, crawlspace or wall cavities. Also look for a duct that’s crushed, sagging, torn or full of tight bends.
- Clean the fan. Turn off the power at the breaker, take down the grille, and vacuum the dust off the grille, blades and housing.
- Check the size. The fan’s airflow in CFM (cubic feet per minute) is printed on a label inside the housing. The usual rule of thumb is about 1 CFM per square foot of floor area for bathrooms up to 100 square feet, and at least 50 CFM for a fan you switch on and off. Bigger bathrooms are sized by fixtures. A long or bendy duct means the fan moves less air than its label says, so it’s worth going one size up.
Step 2: Run the fan long enough (and let air in)
Most fans don’t fail because of the hardware. They fail because they’re switched off while the bathroom is still full of steam. Turn the fan on when you start the shower and leave it running afterward. Common advice is at least 20 to 30 minutes. The Building America guide linked above goes further and recommends about an hour after a shower.
Make that automatic:
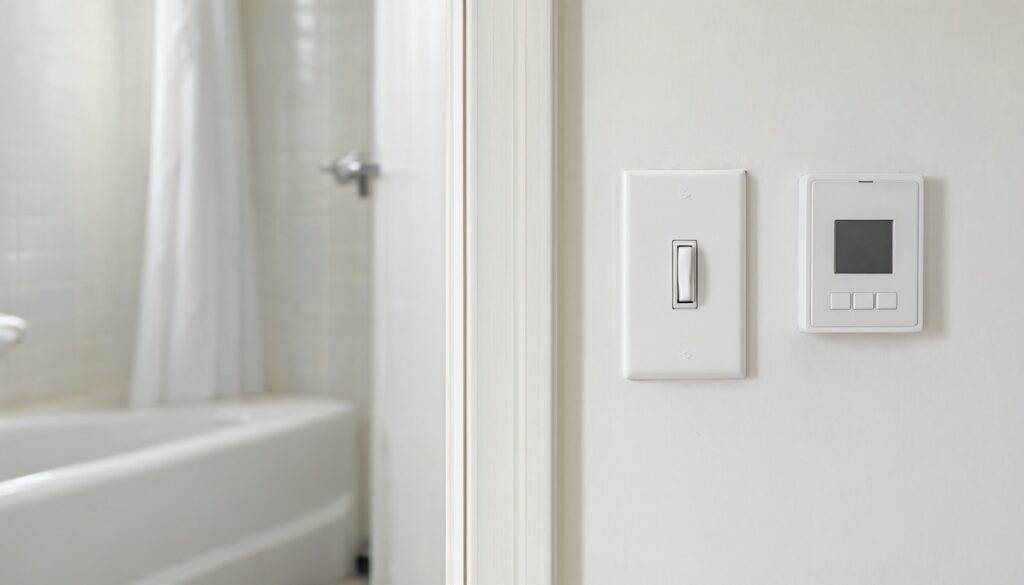
- Swap the wall switch for a timer switch so the fan turns itself off later.
- Or use a humidity-sensing switch or fan, which runs until the humidity drops back down.
- Leave a gap under the door (about ¾ inch is typical) or open the door when you’re done, so fresh air can replace what the fan pulls out.
- Open the shower curtain or door after you shower so the tub area can dry, too.
A cheap digital hygrometer shows whether this is working. The U.S. EPA’s guide to mold and moisture recommends keeping indoor humidity below 60%, ideally between 30% and 50%. Humidity will spike during a shower. What matters is how fast it falls afterward. If the bathroom stays well above 60% long after you’re done, the fan still isn’t removing enough moisture.
If you replace or rewire a fan, follow its instructions and turn off the circuit first. Bathrooms count as wet locations, so if you aren’t comfortable with wiring, hire an electrician.
Step 3: Stop water getting in at the tile edge and tub
Paint right above a tile surround often fails because of liquid water, not steam. Shower spray hits the painted wall, or water runs down the tile and soaks in at the top edge where tile meets drywall. Look closely at that joint:
- Top edge of the tile. If the caulk or grout line is cracked, missing or moldy, water gets behind the paint from below. Clean it out and run a fresh bead of bathroom caulk along the edge. Our guide to removing old caulk from a wall covers getting the old bead out cleanly, and our guide to choosing a shower silicone sealant covers which type to use.
- Tub-to-wall joint and grout. Cracked grout or a gap at the tub lets water into the wall behind the tile, and it can wick up into the painted drywall above. Our guide on cleaning tile grout in the shower helps you see what’s stained and what’s actually cracked.
- Shower spray. If the showerhead aims water at the painted wall above the tile, adjust it, use a taller curtain, or think about extending the tile higher. Painted drywall isn’t made to be sprayed every day.
- Leaks behind the wall. A slow drip from the shower arm or valve can show up as peeling, stains or soft drywall. Signs include damage that keeps spreading, a musty smell or a stain on the ceiling below. If you suspect a leak, call a plumber before you repaint.
Step 4: Check for mold and lead before you scrape
Mold. Dark spots under or around the peeling paint are usually mildew. Clean it off before you repaint. The EPA warns not to paint or caulk over moldy surfaces, because the paint is likely to peel again. The EPA says you can usually clean a moldy area of less than about 10 square feet yourself. For anything bigger, or mold that comes back from inside the wall, get professional help. Wear gloves, eye protection and a well-fitting mask, and never mix bleach with ammonia or other cleaners.
Lead paint. If your home was built before 1978, the old paint under the peeling layer may contain lead. Scraping and dry-sanding it makes lead dust, which is especially harmful to children and during pregnancy. Test it first with a lead test kit, or ask a lead-safe certified contractor. The EPA’s page on sources of lead advises against removing lead paint yourself, and against dry-sanding at all.
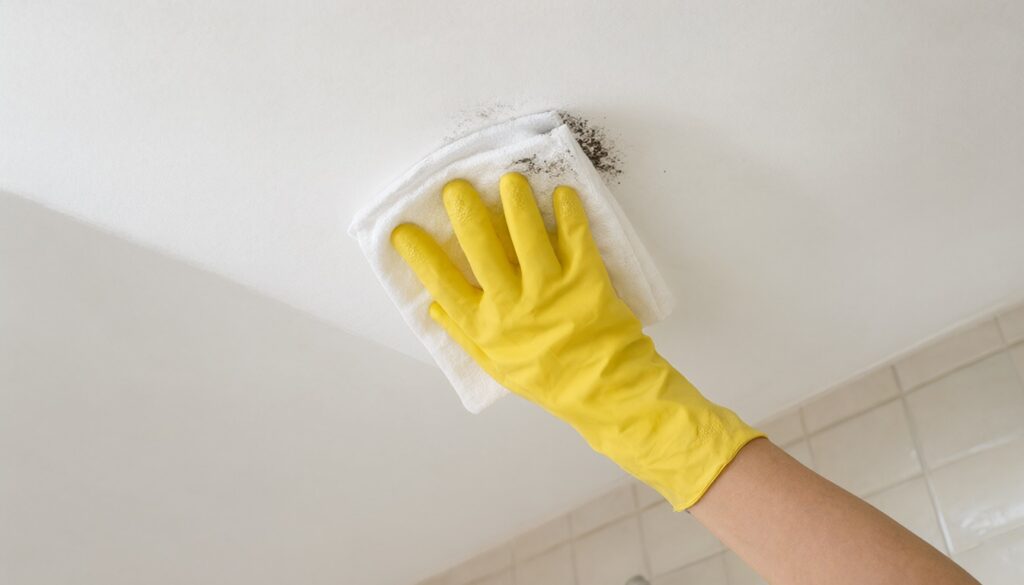
Step 5: How to fix peeling paint above the bathtub
Once the moisture source is fixed, the repair itself takes a weekend: a couple of hours of work, then drying time.
What you need
- Drop cloth and painter’s tape (cover the tub and tile)
- Stiff putty knife or paint scraper
- Sanding sponge, about 120 grit, plus a finer 220 grit
- Bathroom cleaner or a TSP substitute, a sponge, and clean water
- Lightweight spackle or joint compound for dents and edges
- A primer made for bathrooms or high-humidity areas (an adhesion or stain-blocking primer)
- Bathroom paint in satin or semi-gloss, ideally labeled mildew-resistant
- Angled brush, small roller with a short-nap cover, and a tray
- Safety glasses, gloves and a dust mask; a step ladder
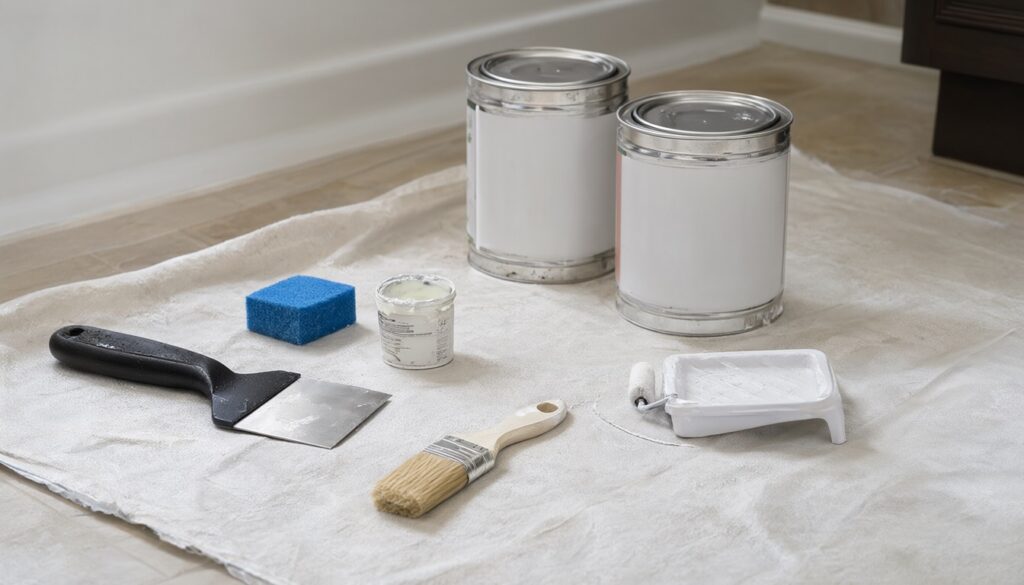
Steps
- Protect the tub. Cover the tub and tile with a drop cloth and tape. Turn the fan on and open the door.
- Scrape off everything loose. Hold the scraper at a low angle and push under the flakes. Keep going until the paint edge is firm and the scraper stops catching. Try not to tear the paper face of the drywall.
- Feather the edges. Sand the ridge between bare spots and sound paint with the 120-grit sponge until it feels smooth to the touch, then go over it lightly with 220. (Skip dry sanding if there’s any chance of lead.)
- Patch. Fill dents, torn paper and the step at the paint edge with a thin coat of spackle. If the drywall paper is torn and fuzzy, seal it with primer first so the patch doesn’t bubble. Let the patch dry, then sand it smooth.
- Clean off soap film. Bathroom walls and ceilings carry a film of soap, hairspray and body oil that new paint won’t grip. Wash the whole area with a bathroom cleaner or a TSP substitute, then rinse with clean water.
- Let it dry completely. Give it 48 to 72 hours with the fan running and no showers in that room, if you can manage it. A dehumidifier with the door closed speeds things up. Painting over damp drywall is a common reason repairs fail.
- Prime. Spot-prime the bare and patched areas, or prime the whole ceiling if a lot of paint came off. Choose a primer rated for bathrooms. A stain-blocking primer also helps if there are water marks.
- Paint two coats. Use a satin or semi-gloss bathroom paint and let the first coat dry fully before the second. Paint the whole wall or ceiling, not just the patch, so the sheen matches.
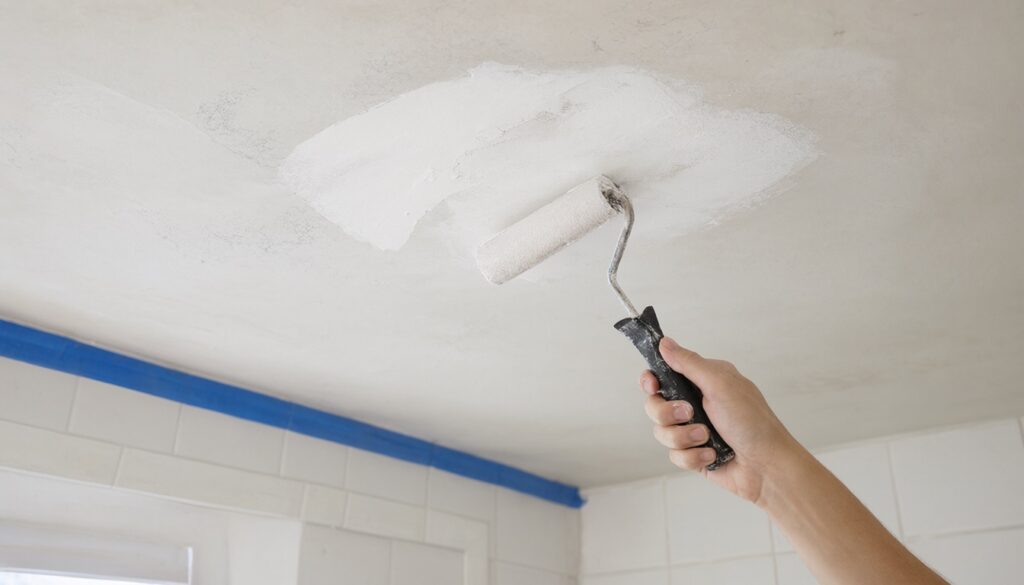
What is the best paint for a bathroom ceiling and the wall above the tub?
The paint matters less than the moisture control and prep. But once those are right, picking the right paint helps the repair last:
| Choice | Good for | Watch out for |
|---|---|---|
| Flat or matte ceiling paint | Dry rooms; hides ceiling flaws | Porous and hard to wipe; a common reason bathroom ceilings peel |
| Satin or eggshell bathroom paint | Most bathroom walls and ceilings; softer look | Choose a version labeled for bathrooms or moisture |
| Semi-gloss | The wall above a tub and ceilings in steamy, busy bathrooms | Shows patches and dents more; prep has to be good |
| Mildew-resistant bathroom paint | Any surface near the shower | Resists mildew growth on the film, but doesn’t fix bad ventilation |
| Paint-and-primer-in-one | Repainting sound, clean paint | Not a substitute for a real primer over bare drywall or patches |
If you’re unsure whether the old paint is latex or oil, rub a spot with a cotton ball dampened with rubbing alcohol. If paint comes off on the cotton, it’s latex. If nothing comes off, treat it as oil or glossy paint: degloss it with a light sanding and use a bonding primer before you put latex on top.
How long should you wait to shower after painting?
Read the paint can, because times vary by product. Most latex paint feels dry within hours but takes days to weeks to cure fully. While it cures, steam and condensation can leave marks or soften the film. A safe approach:
- Don’t shower in that bathroom until the paint is dry to the touch and has had at least the recoat time on the label, preferably overnight.
- For the first week or two, take shorter, cooler showers, run the fan the whole time, and leave it on afterward.
- Don’t scrub the new paint until it has cured.
If you see drips or sticky, tan streaks on new bathroom paint after the first showers, that’s usually surfactant leaching (soluble ingredients in fresh latex paint coming to the surface in humid conditions). It isn’t peeling. Rinse it off with warm water, and it usually stops once the paint has cured.
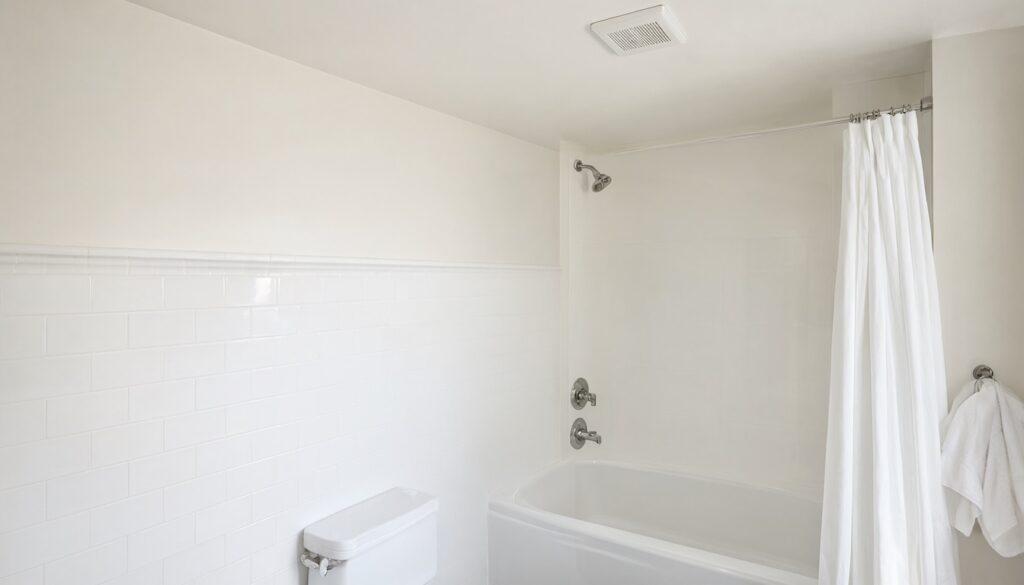
How to keep bathroom paint from peeling again
- Fan on for every shower and bath, and leave it running afterward on a timer or humidity switch.
- Clean the fan grille every few months so dust doesn’t choke it.
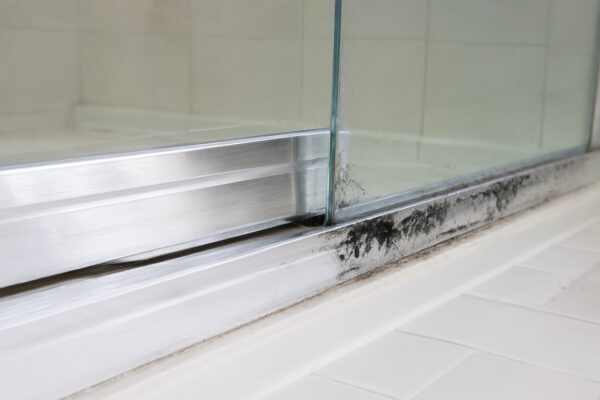
- Squeegee the tile and wipe the tub edge so less water sits and evaporates into the room. The same habit keeps shower door tracks free of black gunk.
- Keep the caulk at the tile edge and tub in good shape, and redo it when it cracks or turns black.
- Insulate a cold ceiling. If the bathroom is under an attic with thin or missing insulation, the ceiling stays cold and keeps collecting condensation. Adding insulation above it helps.
- Wipe down mildew spots early, before they spread under the paint.
When to call a professional
- The drywall is soft, crumbles, sags or is stained in rings, which points to water inside the wall or ceiling.
- Paint peels again in the same spot after you’ve fixed the fan and repainted properly.
- There’s a musty smell, or mold covers more than about 10 square feet.
- The fan duct runs into the attic, or you need a new duct run or roof cap.
- The house was built before 1978 and you haven’t ruled out lead paint.
FAQ
Does peeling bathroom paint mean there’s mold?
Not always. Most peeling above a tub comes from condensation or water getting under the paint. But the same damp conditions let mildew grow, so look under the flakes for dark spots, and clean them off before you prime and paint.
Can I paint over peeling paint in the bathroom?
No. New paint is only as strong as the layer underneath it. If you paint over loose paint, the new coat peels off with the old one. Scrape back to a firm edge, clean, dry, prime and then paint.
Should the bathroom fan be on during the shower or after?
Both. Turn it on when you start the shower so it pulls steam out before it settles on the ceiling, and keep it running afterward until the mirror is clear and the humidity has dropped. A timer switch makes this easy.
Why is my bathroom ceiling paint bubbling but not peeling yet?
Bubbles (blisters) are the stage before peeling. Moisture has got under the film, or the paint was put on over a damp, dirty or hot surface. Cut one open. If there’s water or bare drywall underneath, it’s moisture: fix the source, then scrape and repaint. If there’s paint underneath, it may be a prep problem in the top coat.