How To Prepare Ceilings And Walls For Painting?
Are you planning to paint your home soon? We are pretty sure you have hired the best painters within your budget. After all, our house deserves no less than the best. If you have decided to DIY paint your wall, go ahead – it’s pretty simple, albeit if you give enough time and efficiency. However, do you know that your ceilings and walls need to be prepped really nice for the painting to go seamlessly? Don’t worry if you haven’t booked a specialist. You don’t need one. All you need is some time and some effort on your part to do this job properly. And as for how to go about it, leave it on us!
Remove all the erstwhile wallpaper
If your current walls are papered, the first step you have to do is remove the wall-paper. Although it may seem a daunting task, trust us, it is much less of a hassle than you think. We have dedicated one full article on how to remove wallpapers. Check it out and be a pro at your maiden try at removing one. Good luck!
Wash your ceilings and walls with sugar soap
If your walls are pretty new and in a good state, and all you want is a renovation and change in color, this step is a must. Instead of getting any expensive product for the wash, wash it with simple sugar soap and water solution. This will not only remove the grit and dirt but also prepare the walls for a fresh coat of paint. However, make sure to let the walls dry down completely before going ahead with the painting procedure.
Fill the cracks in the wall
If your walls are pretty old or if they have any bumps or cracks, make sure you assess them properly. Thereafter, you should fill up the cracks with essential materials. The cracks are often seen in the corners or around the windows. Assess the house minutely for these cracks. If not filled properly, they may damage the walls and fresh paints.
Sand down bumps in the wall
You don’t want uneven paints in your ceilings and walls, right? For this, all you need to do is sand down the walls and ceilings for an uneven canvas for the paints to be applied. Assess the walls and ceilings minutely for these lumps and bumps. If they are scarce, you can sand them down easily. If there are a lot of bumps, you might need a mouse sander to make your job hassle-free.

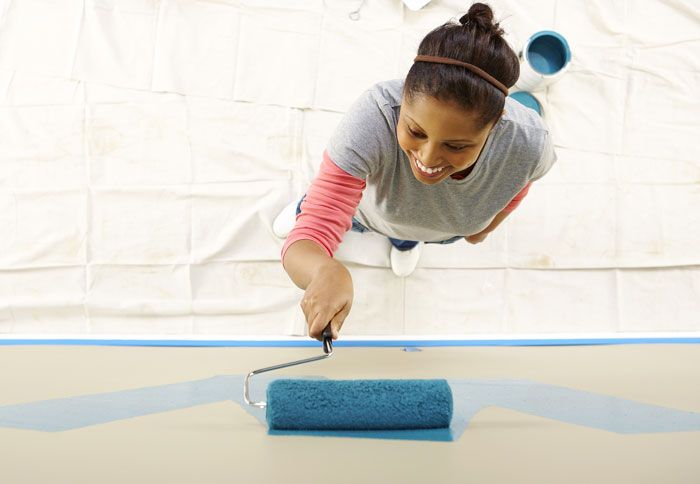
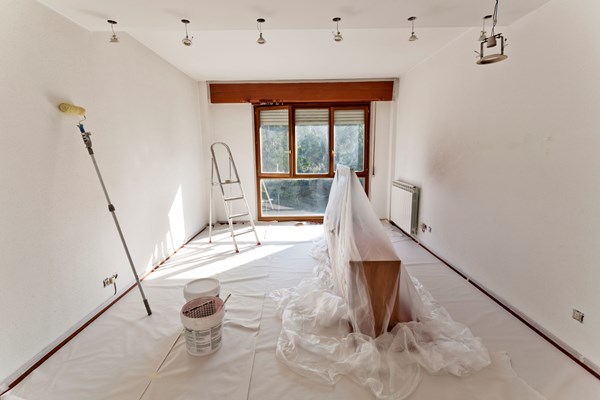
Mask Your Skirting
Masking tapes and decorators tapes are your friends while painting. Mask the areas around the walls and ceilings so that you don’t splash any paint on the unwanted areas. You can also mask the windows, windowpanes, lights and other electrical fittings, too, to save up on time after you are done with DIY paint your wall. Light sockets must be masked as well. Notably, once you are done with painting, wipe off that area with a sponge to remove traces of glue.