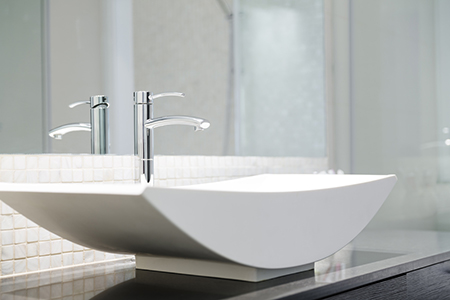
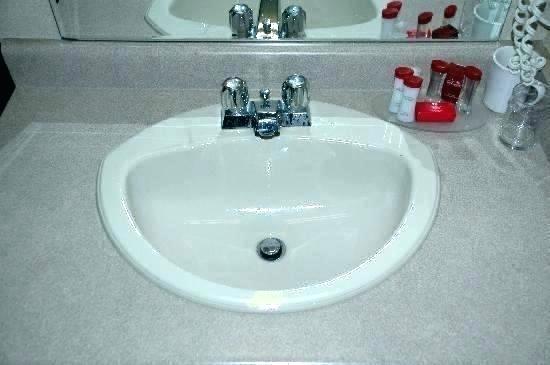
Crack In Your Bathroom Sink? Here’s How You Can Repair It Yourself
While we tend to overlook, a bathroom sink is indeed one of the most important fittings in your modern life. We won’t go into the details of its necessity but our lives will indeed get paralyzed if our sink doesn’t work properly. So, it is always advisable to treat any sink-related issue as soon as you notice. After all, a chipped or cracked sink can be repaired much easier than replacing a whole sink or repair your bathroom sink. In case you are wondering how to go about the entire procedure, here’s an easy DIY method –
1. Clean the sink spotlessly
The first and most important step is to clean & Repair your Bathroom Sink efficiently. Not only residue but the sink must be cleared of any dirt or grime. After you clean the drain, you must take a sponge and soap to clean the surface as well. After you are done scrubbing and washing, dry the sink with a towel and let it air dry for some time.
2. Sand the damaged area
After you are done air-drying the complete sink, time is now to lightly sand the disturbed area. This step should be done using a 400-grit to 600-grit fine sandpaper. While you are doing it, make sure to roughen up the chip edges in order to let the patching material or touch-up paint adhere efficiently. Also, care should be taken not to scratch the plain and unblemished areas of the sink’s surface while sanding the affected area.
3. Repair compound is next to be applied
After you are done sanding the area, it is now time to use a porcelain filler or repair compound to fill in the deep gouges and chips. This step should be done if your sink has more than just a fine hair crack. For this step, you can use a small brush or spatula to fill the chip or gauge with the filler in layers till it has been filled in to just above the sink’s surface. Make sure to give each application enough time to dry before proceeding with the next. To match the repair level with the rest of the surface, ever-so-lightly sand the area after each application. You can follow the manufacturer’s instructions on application and drying time. After you are done with applying the filler, let it set completely.
Alternatively, a repair epoxy can also be used to fill in the chipped area. A number of solutions available in the market should be seen in order to match the color with the existing color of the sink. These kits usually come with two epoxy components along with a small brush to apply the compound with.
4. Apply porcelain or ceramic touch-up paint
The last step requires you to apply porcelaintouch-up paint over the filled-in area. The touch-up paint comes in myriad hues so try to match it perfectly with the sink’s finish. The touch-up paints are waterproof and form a tight seal over the recently-applied filler.
If your sink has a hair crack, you can avoid Step 3 and straightway jump to Step 4.