How to Clean Breville Toaster
Breville toasters are in a league of their own. However, they also need regular cleaning and maintenance like regular toasters. But how to clean the Breville toaster? You must know all the cleaning tips to ensure your device is as good as you bought it on the first day.
In this article, we share with you the necessary cleaning hacks to keep your Breville toaster looking good and working at its best.
How often to clean a toaster?
It depends on the type of toaster you have – whether a pop-up or a toaster oven. If you are considering a pop-up toaster, you need to clean it once every week and give it a thorough cleaning once a month.

You can turn off the toaster to begin the cleaning. Carefully remove the stuck bread pieces, cheese, pop tarts, or other food particles. To prevent crumb buildup and filth, clean the pop-up toaster once every week or for two weeks. A dirty toaster may start smelling and have bread crumbs that can catch fire and make you bad-tasting toast. All this is something that you don’t want. Therefore, consider proper cleaning.
How to clean a toaster safely?
Even though we are sure you already know, we must remind you to disconnect the toaster before continuing. Give it some time to cool off as well. Then avoid sticking your fingers inside anything metal, even the toaster.
Also Read: How do You Remove Scratches from a Stainless Steel Sink?
We should also point out that some people are curious about whether or not a toaster can be cleaned in a dishwasher. It’s a loud No!
After knowing that, you should follow the given steps to clean your toaster:
1. Find and clean your crumb tray
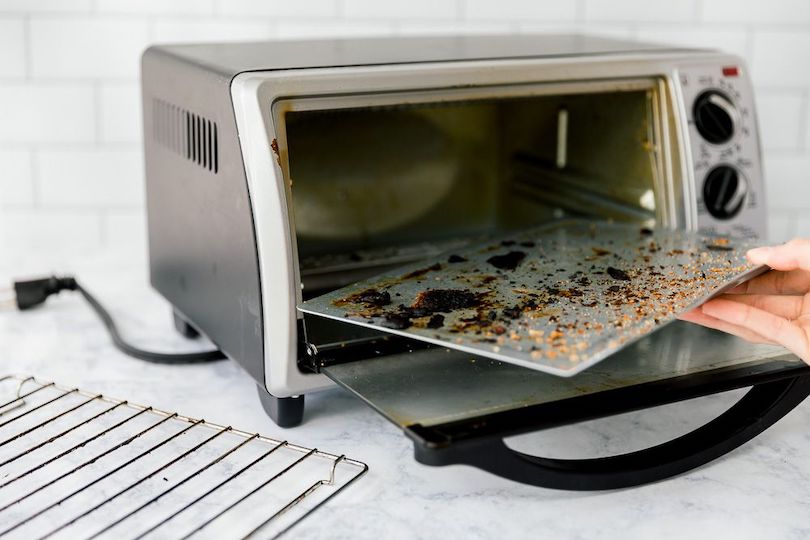
Make sure you regularly clean the crumb tray at the bottom of the toaster as well as when you deep clean it to prevent the leftover parts from becoming a fire hazard. Find the tray at the bottom; it will typically have a curved handle that will assist you to slide it out.

We advise doing it over the kitchen sink or in the garden if it’s not pouring because crumbs will fly everywhere. Shake the crumbs off the tray, clean it with a sponge dipped in warm water and dish soap, and then completely let it air dry. To clear any awkward crumbs, turn your toaster upside-down in the interim.
2. Clean inner parts of your toaster
Next, clean the interior. the little bit awkward portion. Brush the toaster coils inside gently with a damp toothbrush or soft cloth.
Use a little white vinegar on your toothbrush or cloth for added cleaning strength, but be careful not to get your instruments too wet as this could be dangerous. You may get rid of any stuck-on melted cheese or other debris in a toaster by cleaning it with vinegar.
3. Clean the exterior of the toaster
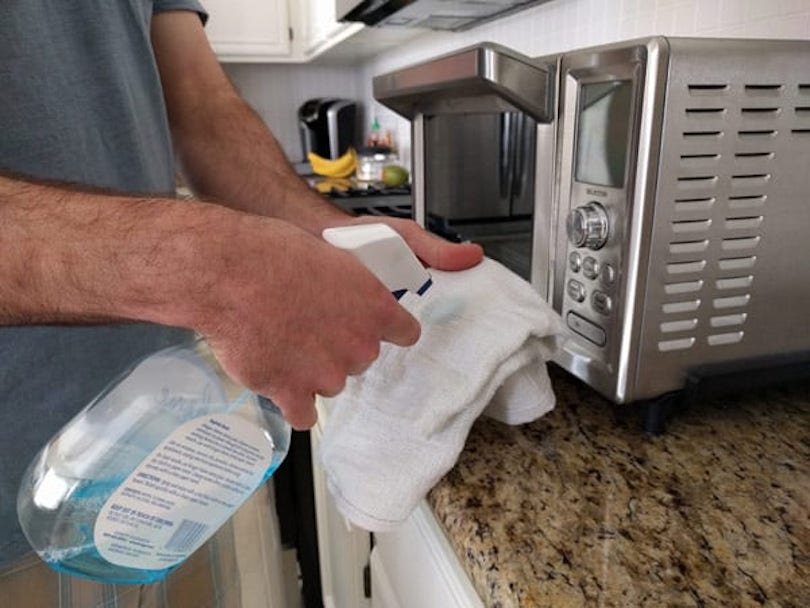
Now clean the outside of your toaster of greasy fingerprints and mysterious spills. The outside may be easily cleaned with a moist sponge and dish soap, then dried completely with a microfiber towel.
If your toaster is an elegant stainless-steel model, all you need is a gentle cloth to clean it. Make a paste of cream of tartar and water to remove difficult stains, then use your toothbrush for a bit of extra grit.
The proper way to clean stainless steel for your other kitchen appliances is as follows.
4. Put it back together

Put your crumb tray back in place once everything is spotless and dry inside and out, and you’re ready to go.
How to remove brown stains from a toaster?
If brown stains from a cheese toastie bag overload issue are difficult to remove, baking soda may help. Depending on the intensity of the stain, make a paste out of some baking soda and water, apply it with a cloth or toothbrush, and let it sit for about five minutes. The crusty food should simply peel off with a gentle scrub with a toothbrush.
Even while it could be tempting to go for a scraper or knife end, resist the urge because you don’t want to damage the toaster’s exterior or change its color.
