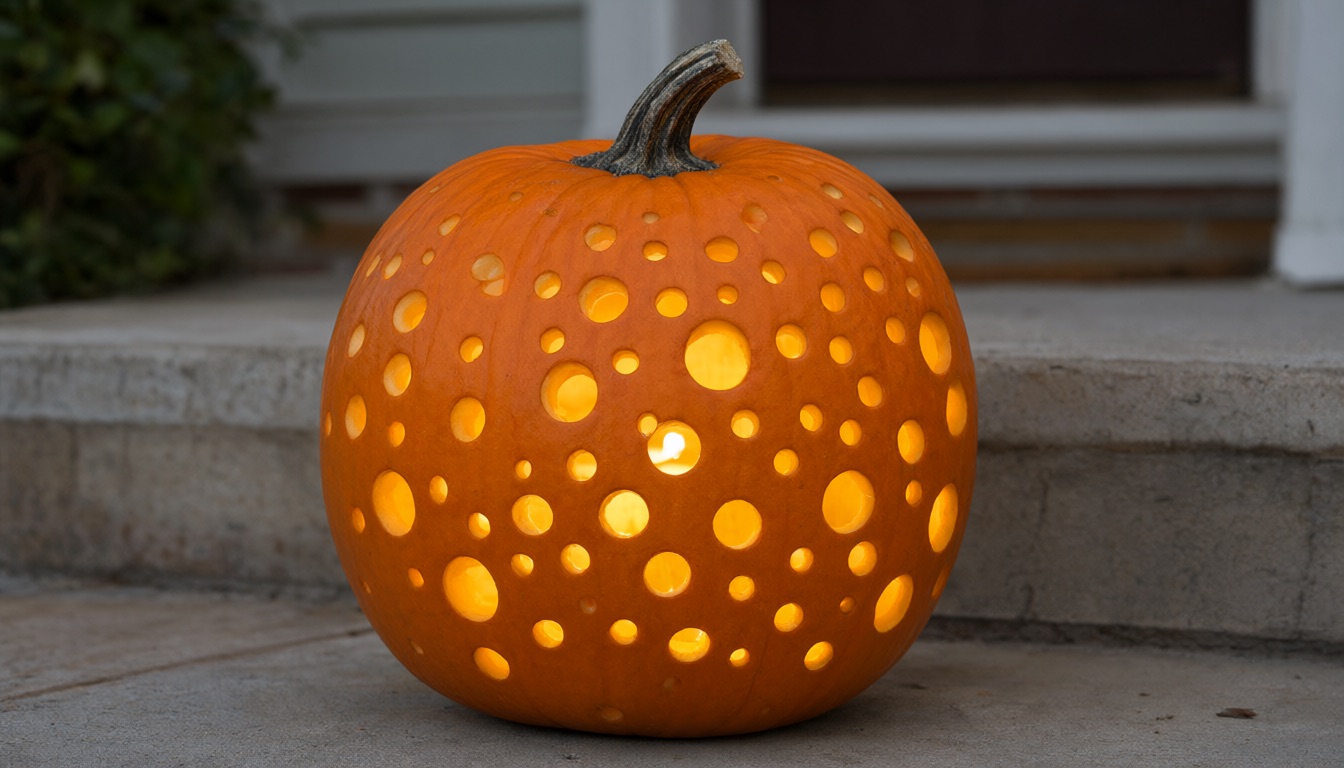
A drill turns a pumpkin into a lantern full of crisp, round holes in a fraction of the time hand carving takes. Polka dots, starry skies, spirals and simple words all come down to one skill: placing holes evenly and choosing the right bit for each one.
What you need
-
- A pumpkin with a flat base, firm skin and no soft spots. Medium to large (10–15 inches across) gives you room for a pattern.
- A cordless drill with a variable-speed trigger. A charged battery matters; a dying drill stalls and tears the skin.
- Drill bits in a range of sizes (see the table below). Spade (paddle) bits for anything 3/8 inch and up; standard twist bits for small holes.
- A hole saw (optional, 1¼–2 inches) for extra-large circles like moons or eyes.
- A serrated knife or pumpkin saw and a large metal spoon or scoop for cleaning out.
- A washable marker or grease pencil, masking tape and a printed template if you want one.
- Safety glasses and snug gloves (not loose or fluffy ones).
- An LED puck light, string lights or flameless candle to light it.
- Newspaper or a drop cloth, a damp rag and a bowl for the pulp.
Which drill bit sizes work best for pumpkins?
Pumpkin flesh is soft, so almost any wood bit will cut it. What changes is the look of the hole and how clean the edge is. A mix of three or four sizes is what makes drilled designs look intentional rather than random.
| Bit size | Bit type | Best for |
|---|---|---|
| 1/8″–1/4″ | Twist bit | Pinprick stars, fine outlines, filler dots between bigger holes |
| 3/8″–1/2″ | Twist or spade bit | Dot borders, letters, the “pixels” of a shape |
| 5/8″–1″ | Spade bit | Bold polka dots, eyes, the letter O |
| 1¼”–2″ | Hole saw or large spade bit | Moons, a single statement circle, a cat-eye pair |
Spade bits leave a flatter, cleaner hole in pumpkin than twist bits of the same size, which can wander and chew the skin. If a hole comes out ragged, a quick twist of a smaller knife tip tidies it up.
How to drill a pumpkin, step by step
- Cut an opening and clean it out. Cut a lid on top, or cut a hole in the back or bottom if you want the top and stem untouched (a bottom opening also lets you set the pumpkin straight over a light). Scrape the inside wall down to about 1 inch thick where you plan to drill. Thinner walls drill faster and let more light through.
- Dry the outside. Wipe the skin with a dry cloth. A wet, slippery rind is how bits skate sideways.
- Mark your pattern. Tape a template on and poke through it with a pin or nail at each hole center, or draw dots freehand with a washable marker. Keep the edges of neighboring holes at least 1/2 inch apart so the wall stays strong.
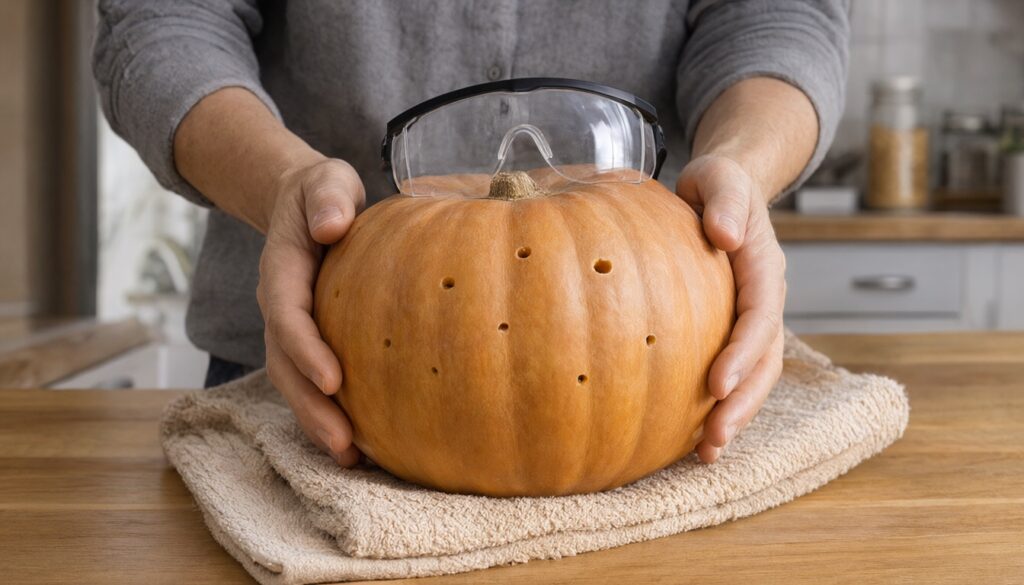
- Brace the pumpkin. Set it on a folded towel on a stable surface at a comfortable height. Never hold it in your lap or brace it against your body.
- Start small, then go up. Drill all the small holes first while the pumpkin is at its strongest, then the medium ones, then the largest. Hold the drill straight in toward the center of the pumpkin, start slow to seat the tip, then squeeze to a steady medium speed. Let the bit do the work; light pressure is enough.
- Clear the bit often. Pumpkin pulp packs into the flutes of a spade bit. Stop the drill completely, then wipe it clean with your rag.
- Vary the depth (optional). Drilling only partway through leaves a thin layer of flesh that glows softly instead of shining bright. Mixing through-holes and shallow holes adds depth to starry or swirl designs.
- Clean up and light it. Push out loose plugs from inside, wipe the skin, then add your light and look at it in the dark. Fill obvious gaps with a few extra small holes.
What patterns look good on a drilled pumpkin?
Designs made of dots read best from a distance, so lean into shapes that are easy to recognize as a cluster of holes.
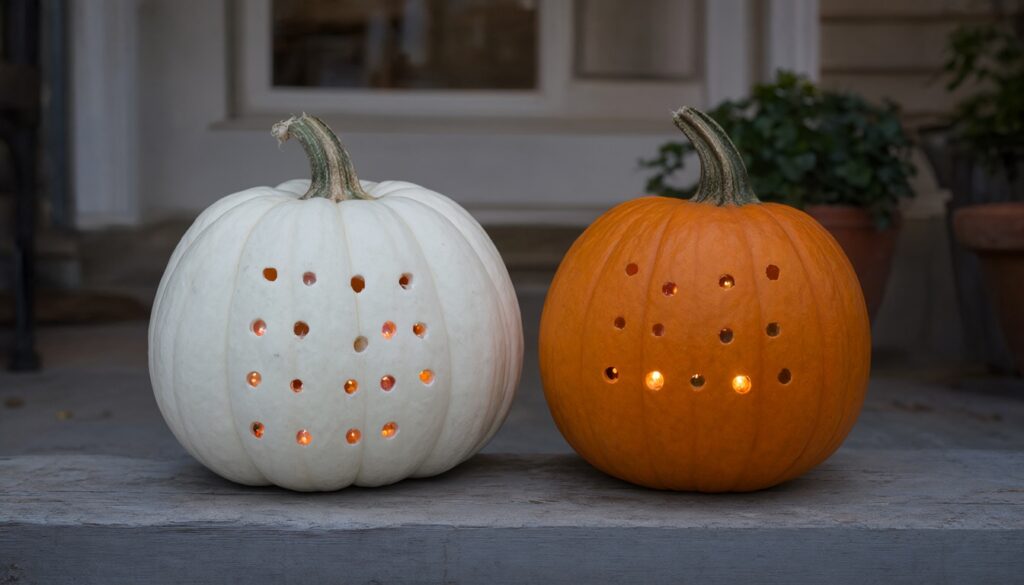
- Graduated polka dots: big holes around the middle shrinking to tiny ones near the stem and base. The easiest design that still looks polished.
- Starry night: scattered 1/8–1/4 inch holes with a few 3/8 inch “bright stars” and one large crescent moon cut with a hole saw (drill two overlapping circles and trim the inner one away).
- Spirals: start at the center front with a large hole and work outward in a spiral, stepping down one bit size each turn.
- Vertical stripes: follow each natural rib of the pumpkin with a line of evenly spaced holes. The ribs act as built-in guides.
- Argyle or diamonds: mark a diamond grid with tape, then drill along the lines.
- Words: “BOO”, “HI”, “EEK” or a house number. The letter O is a single 1 inch hole; B is two stacked 1/2 inch holes with the straight side trimmed with a knife.
- Simple faces: two large holes for eyes and an arc of small holes for a smile make a friendly jack-o’-lantern that kids can help design.
- Constellations: drill a few constellations you can find in a star chart and connect them with a fine marker line or none at all.
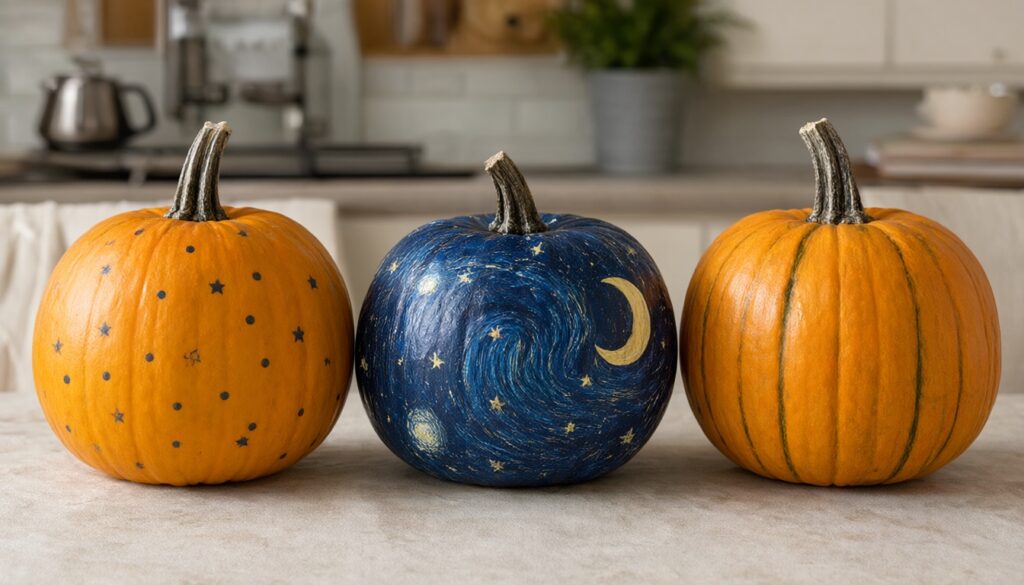
For more ways to group your finished pumpkins, see our pumpkin arrangement ideas. If you want hand-carved faces next to your drilled ones, our creative pumpkin carving ideas pair well.
How do you drill a pumpkin safely?
- Eye protection every time. Bits fling pulp and bits of rind toward your face.
- Keep your bracing hand out of the bit’s path. Hold the pumpkin from the side or top, never directly behind or opposite the spot you are drilling, since a bit can punch through the far side if you push too hard.
- No loose sleeves, gloves with dangling cuffs, or jewelry near a spinning bit. Tie back long hair.
- Stop the drill fully before clearing pulp from the bit or reaching inside the pumpkin.
- Kids design, adults drill. Children can draw the pattern, push in pin marks and scoop the inside, while an adult runs the drill and knives. Teens should be supervised.
- Use a cordless drill rather than a corded one around a wet, pulpy work area.
Should you light a drilled pumpkin with a candle or LED?
An LED is the better choice. Drilled pumpkins have many openings, so a flame gets more airflow and more chances to catch something nearby, and heat speeds up rot. The National Fire Protection Association recommends battery-operated candles or glow sticks in jack-o’-lanterns. A warm-white puck light gives a candle-like glow; a small string of fairy lights spreads light more evenly behind a busy pattern.
If you use flameless candles around the house too, our flameless candle decorating ideas have more ways to use them.
How do you make a drilled pumpkin last longer?
A drilled pumpkin has lots of cut surface, so it behaves like a carved one: expect roughly a few days to about a week outdoors, depending on the weather. Extension horticulturists at Kansas State University suggest scraping out every bit of stringy pulp, keeping carved pumpkins cool and bringing them in before a freeze.
- Drill no more than a day or two before you want to display it.
- Rub a thin layer of petroleum jelly on the cut edges to slow drying (only with LED lights, never with a flame).
- Keep it out of direct afternoon sun and bring it indoors on warm days or frosty nights.
- Want it to last all season? Drill a foam craft pumpkin instead. It drills the same way and can be stored for next year.
FAQ
Can you use a regular drill to carve a pumpkin?
Yes. Any household drill works, corded or cordless, though cordless is safer and easier to maneuver. Use wood spade bits for larger holes and twist bits for small ones.
What size drill bit is best for a pumpkin?
There is no single best size. Most designs use three or four: around 1/4 inch for fine detail, 1/2 inch for main dots and letters, and 3/4–1 inch for bold accents.
Do you have to hollow out a pumpkin before drilling?
If you want it to glow, yes. Hollowing and thinning the wall to about an inch makes drilling easier and lets light through. For a daytime-only decoration, you can drill shallow, decorative holes into an uncut pumpkin and it will last longer.
Can you drill a pumpkin without it cracking?
Keep holes at least 1/2 inch apart, drill small sizes before large ones, use a sharp bit at steady medium speed, and avoid clustering several big holes in one area.