Puffy paint pumpkins come in two flavors: a squishy, raised-texture paper craft made with homemade shaving-cream paint, and real or faux pumpkins decorated with store-bought dimensional paint for a raised, piped look. This guide covers both, starting with the recipe most people are searching for.
What you need
For homemade puffy paint (paper craft)
- Foaming shaving cream (the classic foam, not gel)
- White school glue (PVA)
- Orange food coloring or a squeeze of orange washable tempera paint; a little green for stems
- Pumpkin pie spice (optional, for scent)
- Heavy paper: cardstock, a paper plate or a cardboard cutout
- A bowl, spoon or craft stick, and zip-top sandwich bags or squeeze bottles
- Green or brown construction paper, real pumpkin seeds, or pipe cleaners for stems and vines (optional)
For decorating real or faux pumpkins
- A clean pumpkin: real, foam/craft, or a papier-mâché form
- Dimensional (3D) fabric paint in squeeze bottles, or acrylic paint mixed with a puff/texture medium
- Acrylic paint for a base coat (optional)
- Rubbing alcohol and a paper towel (for real pumpkins)
- Pencil or chalk for sketching, and a hair dryer if your paint is heat-activated
How do you make puffy paint with shaving cream and glue?
The basic ratio is equal parts shaving cream and white glue by volume, for example 1/2 cup of each. That gives a smooth, spreadable paint that dries soft and spongy. For a stiffer paint that holds raised peaks better, go up to about 2 parts shaving cream to 1 part glue.
- Add the glue first. Squeeze the glue into a bowl. This makes it easier to mix in color evenly.
- Tint it. Stir in a few drops of food coloring (red plus yellow makes orange if you lack orange) or a teaspoon of washable paint. Add a pinch of pumpkin pie spice if you like.
- Fold in the shaving cream. Gently fold, rather than whisk, so you keep the air bubbles that make it puffy.
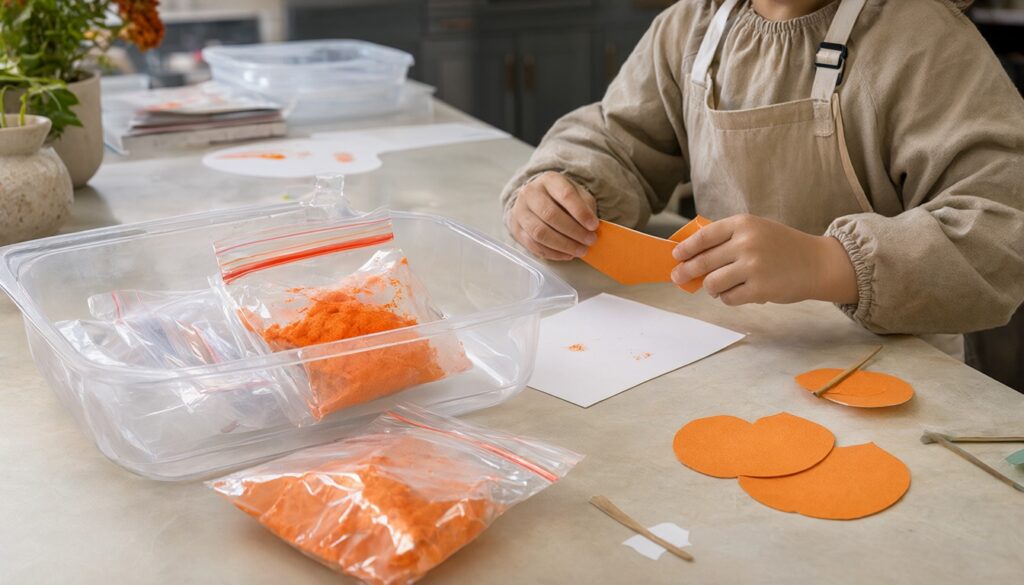
- Load a bag or bottle. Spoon the paint into a zip-top bag, press out the air, seal it and snip a small corner for piping. Or just spread it with a craft stick or brush.
- Use it right away. The foam slowly deflates, so the mix is at its puffiest in the first 30–60 minutes.
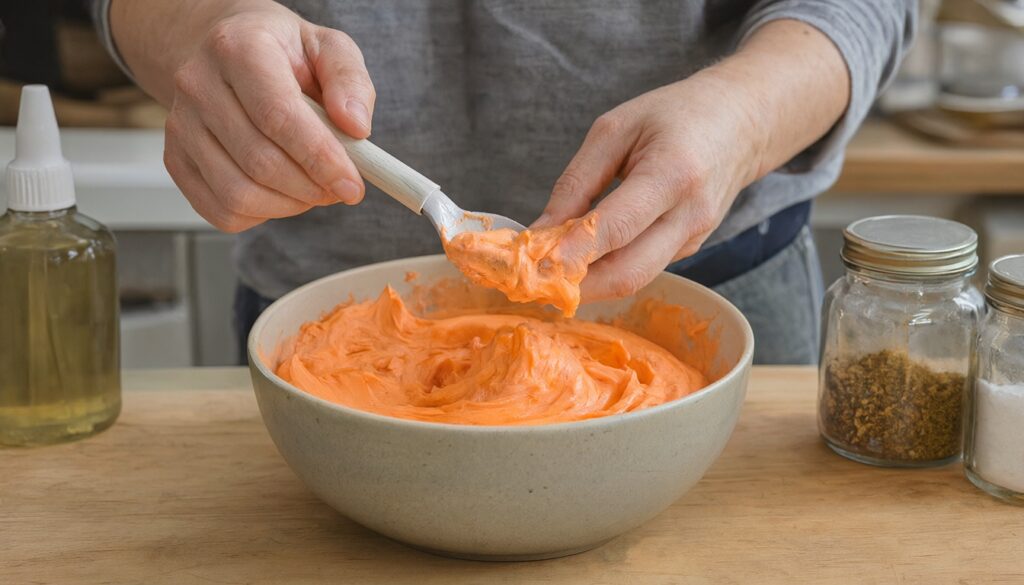
Note on food coloring: it can stain hands, clothes and table tops. Cover the work surface and dress kids in an old shirt.
How to make a puffy paint pumpkin picture, step by step
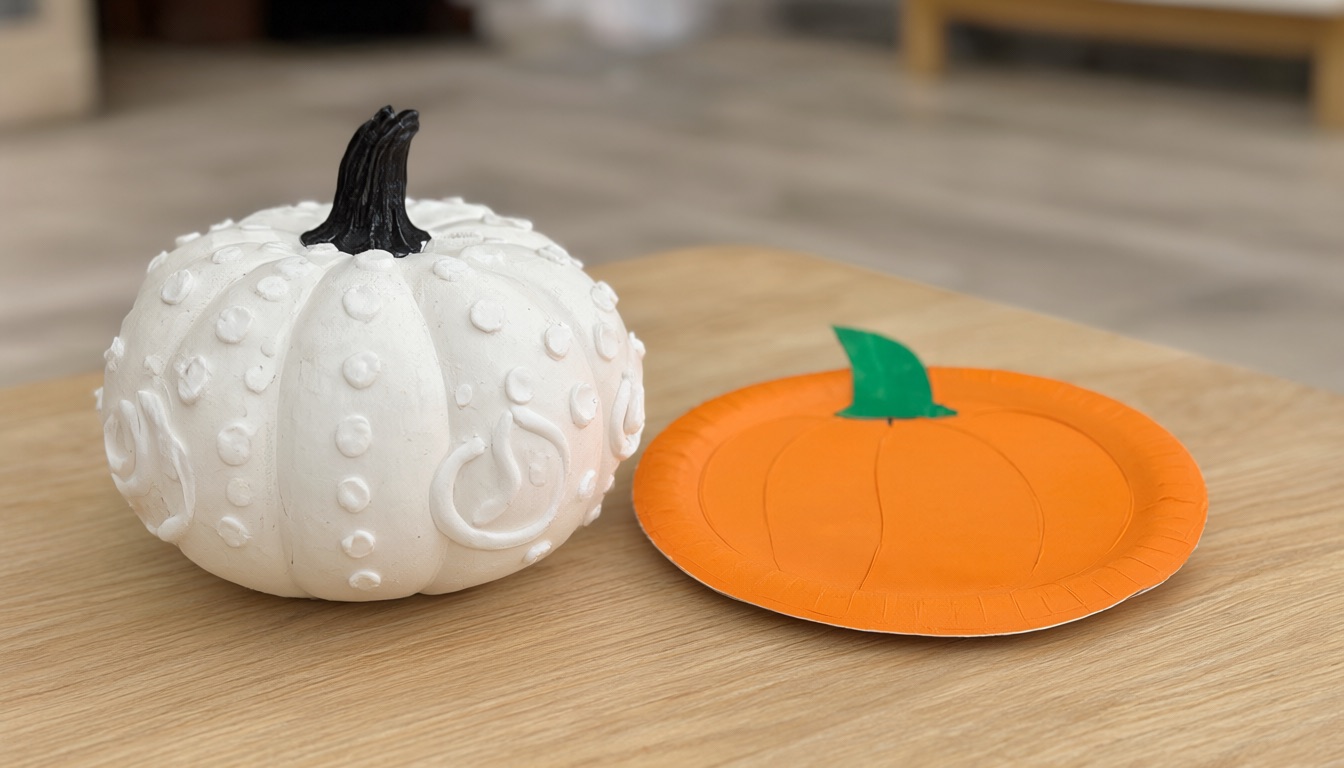
- Draw or cut the pumpkin shape. Draw a big pumpkin outline on cardstock, cut a pumpkin from cardboard, or use a paper plate as the body.
- Fill it in. Pipe or spread the orange puffy paint over the shape about 1/4 inch thick. Thicker layers stay puffier but take much longer to dry.
- Add ribs. Drag a craft stick or the back of a spoon from top to bottom in curved lines to suggest the pumpkin’s ridges.
- Add the stem and leaves while the paint is wet. Press on a paper stem, a curled pipe cleaner vine and a few real pumpkin seeds; the glue in the paint holds them.
- Add a face (optional). Press on black paper shapes, or wait until it’s dry and draw a face with a marker.
- Dry flat. Leave it flat and undisturbed for about 24 hours, longer for thick layers or humid weather. It dries slightly flatter than it goes on but stays soft to the touch.
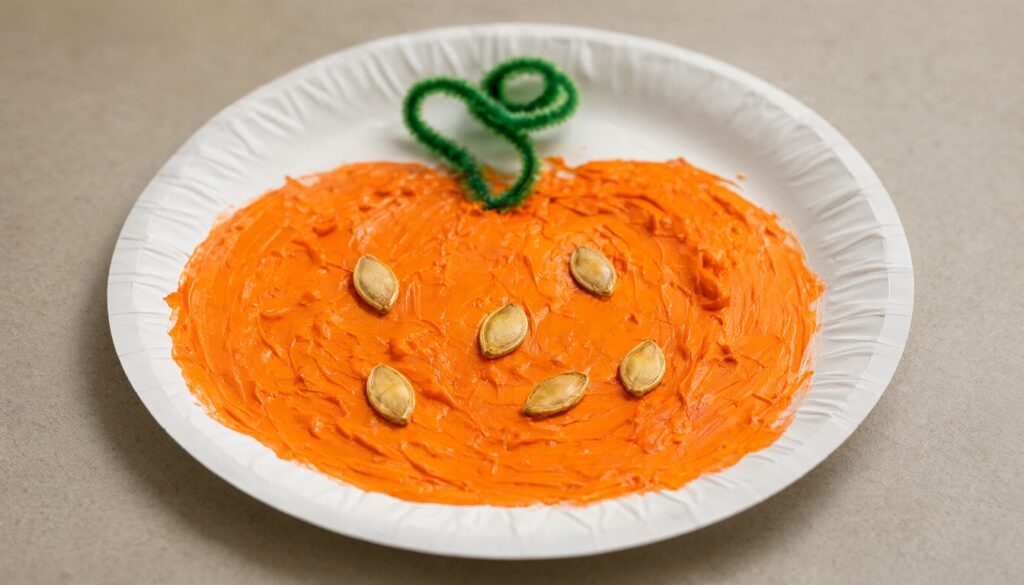
Kids’ puffy paint pumpkins make great Thanksgiving table place cards or a fall garland when strung together; see our Thanksgiving DIY decorations for more ideas.
Can you use homemade puffy paint on a real pumpkin?
You can, but it’s best treated as a short-lived, kid-friendly project. The glue mix grips a dry, matte surface far better than a waxy rind, and on curved sides thick paint can slide before it sets. If you try it:
- Wipe the pumpkin with rubbing alcohol and let it dry to cut the waxy film.
- Use the stiffer 2:1 mix and keep it thin, like piped dots and lines rather than full coverage.
- Work on the top half of the pumpkin, which is flatter, and let each section set before turning it.
- Keep it indoors or under cover; rain will soften glue-based paint.
For a design you want to last the whole season, use store-bought dimensional paint instead.
Homemade vs. store-bought puffy paint: which should you use?
| Shaving cream + glue | Dimensional (3D) fabric paint | Acrylic + puff/texture medium | |
|---|---|---|---|
| Best for | Paper crafts with young kids | Piped dots, lines and lettering on pumpkins | All-over raised texture on faux pumpkins |
| Look when dry | Soft, spongy, matte | Raised, glossy or matte beads | Textured, stucco-like |
| Holds up on a curved pumpkin | Poorly unless thin | Well | Well |
| Outdoor durability | Low | Moderate under cover | Moderate under cover |
| Typical drying time | About 24 hours | Several hours to touch, longer to cure (check the label) | Varies by product (check the label) |
| Cost | Pennies per batch | A few dollars per bottle | A few dollars for the medium |
How to decorate a pumpkin with store-bought puffy paint
- Prep the surface. Wash a real pumpkin and dry it thoroughly, then wipe it with rubbing alcohol. Dust off a faux pumpkin.
- Base coat (optional). Paint the pumpkin white, cream, black or a muted color with acrylic and let it dry fully. Piped orange or white puffy paint pops on a contrasting base.
- Sketch the design lightly. Use a pencil or chalk. Easy designs: dots along each rib, a lace or doily pattern, swirls, scallops around the stem, or a monogram.
- Practice the pressure. Pipe a few dots on scrap paper first. Hold the bottle tip just above the surface, squeeze gently and lift straight up for clean dots.
- Work one side at a time. Rest the pumpkin on its side on a towel so the area you’re piping faces up, then let it set before rotating. This stops drips.
- Puff it if needed. Some puff paints and mediums rise only with heat. Follow the label; usually that means a hair dryer held a few inches away until the paint swells. Skip heat for non-puff dimensional paints.
- Cure. Let the pumpkin dry undisturbed, typically overnight. Don’t stack or display it touching other pumpkins until it’s fully cured.
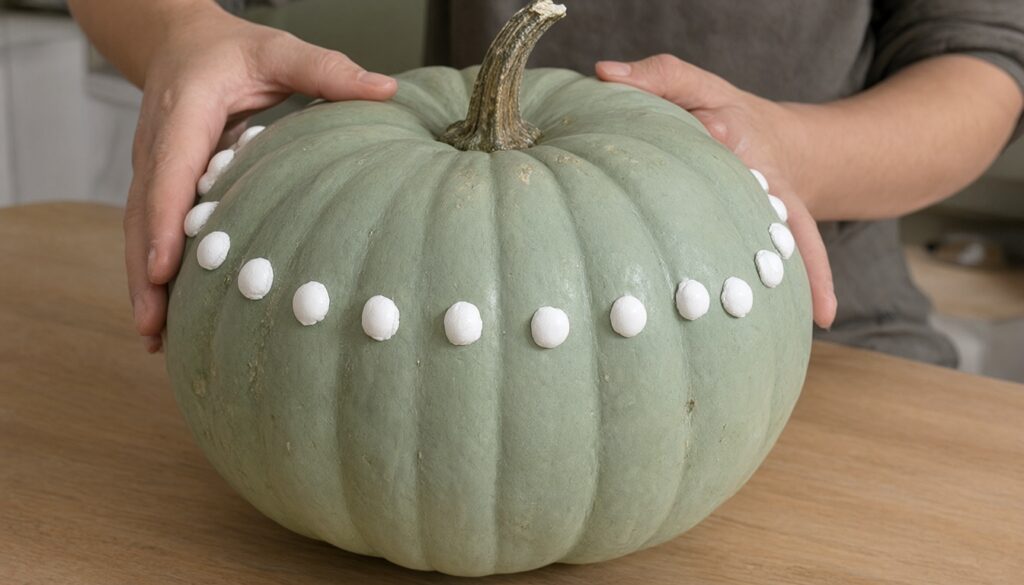
Display finished pumpkins in a cluster with plain gourds and mini pumpkins; our pumpkin arrangement ideas show how. For more no-carve options, browse our easy pumpkin ideas.
Tips for better puffy paint pumpkins
- No-carve lasts longer. Painting instead of carving keeps a real pumpkin fresh far longer, according to Mississippi State University Extension.
- Keep homemade paint fresh-made. It deflates and separates in storage; mix small batches as you need them.
- Clean up quickly. Glue-based paint washes off tools with warm water while wet. Brushes used for acrylic should be cleaned before the paint dries; see how to clean paint brushes.
- Supervise little ones. Shaving cream and glue aren’t food, and the mix can look like frosting. Keep it away from mouths and eyes, and patch-test if a child has sensitive skin.
FAQ
What is the ratio of shaving cream to glue for puffy paint?
Start with 1:1 by volume. Use up to 2 parts shaving cream to 1 part glue for a fluffier, stiffer paint that holds shape better.
How long does shaving cream puffy paint take to dry?
Plan on about 24 hours for a 1/4 inch layer on paper. Thick layers, humidity and cool rooms can stretch that further.
Does homemade puffy paint stay puffy when dry?
It flattens a little but stays raised and spongy to the touch. Folding the foam in gently and not over mixing keeps more puff.
Can you make puffy paint without shaving cream?
Yes. A common alternative is flour, salt, water and a little baking powder, which puffs when microwaved briefly on cardboard. Microwave in short bursts with an adult watching, and let it cool before kids touch it.