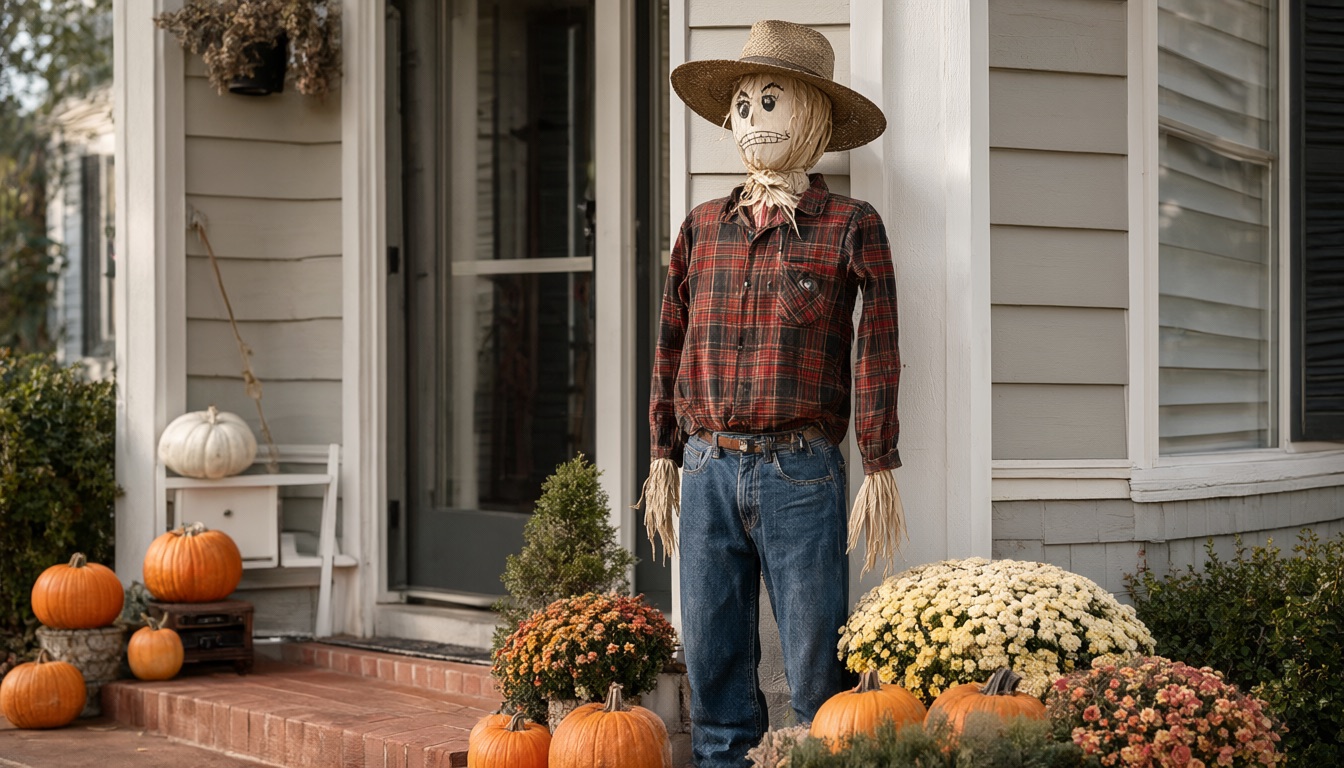
A DIY scarecrow decoration is just a wooden cross frame dressed in old clothes, stuffed, and topped with a head, but the difference between one that looks great all season and one face-down in the yard after the first storm is how you stuff it and anchor it. This guide covers a full-size porch or yard scarecrow, a seated no-frame version, and small indoor scarecrows.
What you need
For a full-size standing scarecrow
- Frame: one 6–7 ft 2×2 or 1×3 board (the spine) and one 3–4 ft board (the arms). Garden stakes work too.
- Fasteners: two or three 2½ inch exterior wood screws, or nails, plus a drill/driver or hammer.
- Anchor: a 3–4 ft length of rebar or a metal fence T-post for lawn installs, or a bucket, Christmas tree stand or sandbags for porches (details below).
- Clothes: an old long-sleeve shirt (flannel is classic), jeans or overalls, work gloves, boots, a hat and a bandana.
- Stuffing: plastic grocery bags, bubble wrap or pool noodles for outdoors; straw or raffia just for “poking out” at cuffs and collar.
- Head: a burlap sack or pillowcase stuffed into a ball, a foam craft pumpkin, or a plastic trick-or-treat pumpkin.
- Tying: jute twine, zip ties, safety pins and a few heavy-duty rubber bands.
- Fabric marker or acrylic paint for the face, scissors, and a staple gun (optional).
For small indoor scarecrows
- A tomato cage, terra-cotta pot, mason jar, wooden spoon or clothespin as the base
- Scraps of flannel, burlap and felt, raffia, a mini straw hat, hot glue and twine
How to build a porch or yard scarecrow, step by step
- Build the cross. Lay the long board on the ground. Place the short arm board across it about 12–15 inches from the top (that leaves room for the head). Fasten with two screws so the arms can’t pivot. A third screw at an angle adds rigidity.
- Dress the top. Slide the shirt on so the arm board runs through both sleeves, and button it up. Gather each sleeve end around the board with a rubber band or twine, leaving a few inches to stuff.
- Add the pants. Cut a small slit in the seat seam of the jeans if needed so the spine can pass through, pull them up to the waist and tuck the shirt in. Hold them with a belt, twine or safety pins through to the shirt. For a figure that “stands” on its own legs, tie the pant legs closed at the ankles.
- Stuff it. Fill the shirt, sleeves and pant legs with plastic bags or bubble wrap until full but not stiff. Then tuck a handful of straw or raffia into each cuff and collar so it peeks out. Outdoors, keep real straw to the edges only: packed straw holds rain, gets heavy, molds and attracts critters.
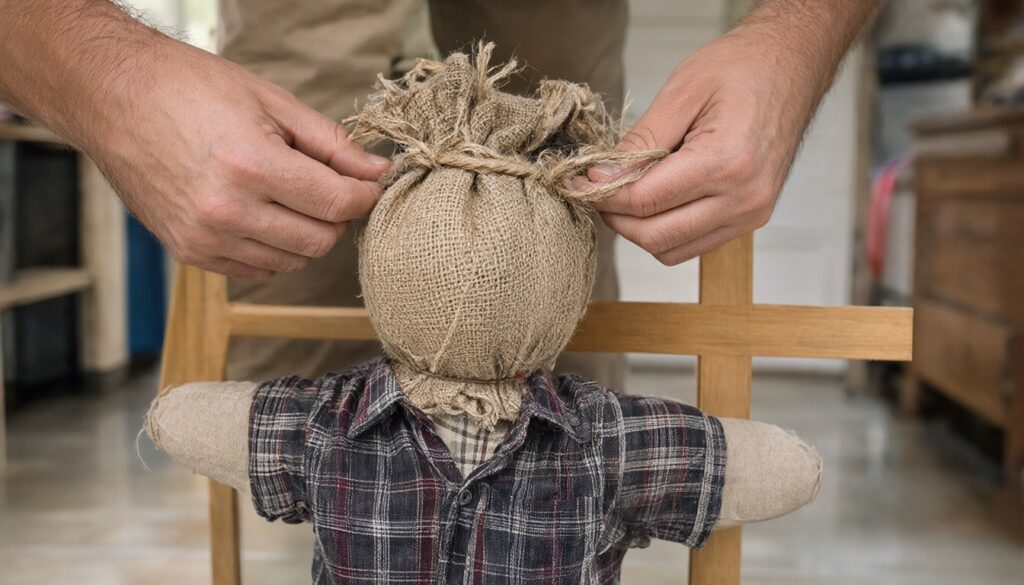
- Make the head. Stuff a burlap sack or pillowcase into a ball about the size of a basketball, pull it over the top of the spine, and tie it tightly at the neck with twine. Or press a foam or plastic pumpkin onto the spine (cut a hole in the base to fit) and secure it with a screw through the back into the post.
- Add the face. Draw a simple face with fabric marker or paint: triangle nose, stitched smile, round eyes. Keep it friendly if small kids visit; a little stitched mouth reads well from the sidewalk.
- Finish it. Push gloves onto the sleeve ends and pin them. Add a hat (hot glue or pin it so wind can’t lift it), a bandana at the neck, and boots at the feet if it’s in a bed or on the porch.
- Anchor it using one of the methods in the next section before you walk away.
How do you keep a scarecrow from blowing over in wind?
A scarecrow behaves like a sail: the shirt and hat catch wind high up, and a 6 ft figure has a lot of leverage. Anchor it as if you were setting a small fence post.
| Where it stands | Best anchoring method |
|---|---|
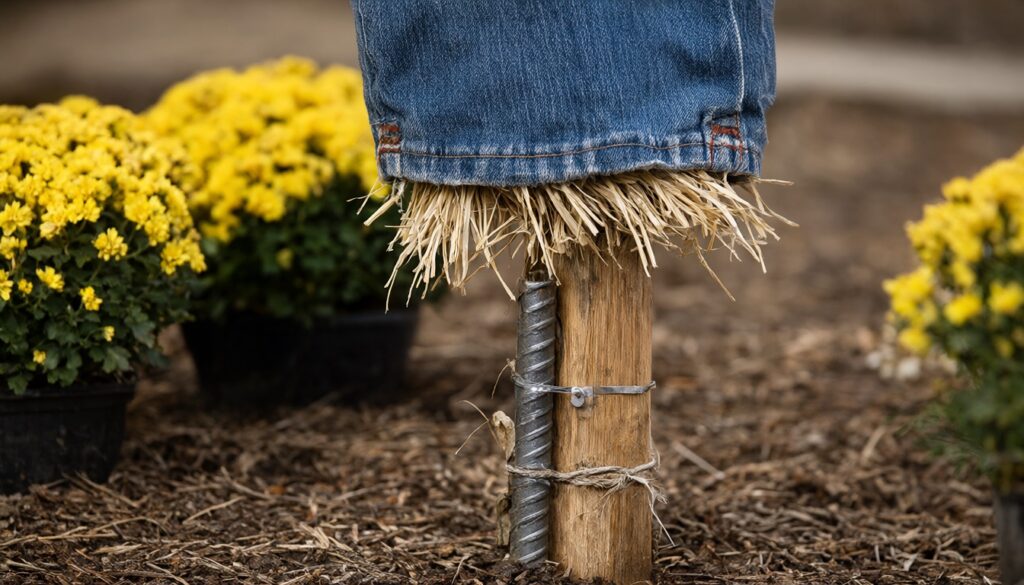
| Lawn or garden bed | Drive a 3–4 ft piece of rebar or a metal T-post at least 18 inches into the ground, then lash or screw the scarecrow’s spine to it at two points (low and mid-height). In hard soil, water the spot first. |
| Porch or patio | Bolt or screw the spine into a Christmas tree stand, or set it in a 5-gallon bucket filled with sand, gravel or quick-setting concrete. Hide the bucket under hay, mums or pumpkins. |
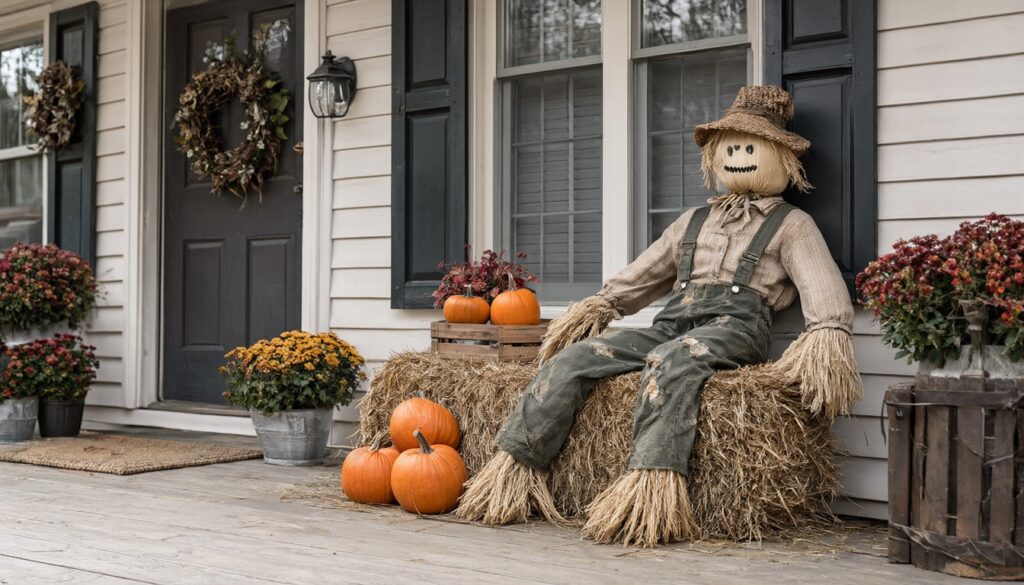
| On a hay bale | Seat the scarecrow on the bale and drive two garden stakes or rebar through the bale into the ground, tying the figure to them. A bale alone can tip in a strong gust. |
| Seated in a chair | Zip-tie the scarecrow to the chair back and arms, and weight or tie the chair to a porch post or railing. |
| Against a wall or post | Tie the spine to a porch column, fence post or railing at two heights. |
- Before driving anything into the ground, call 811 (in the US) or your local utility-locate service to check for buried lines; rebar can hit shallow cables or irrigation.
- Reduce wind load: snug baggy shirts with twine at the waist and pin the hat. Lighter stuffing (bubble wrap, plastic bags) means less weight falling if it does go over.
- Bring it in or lay it down before a storm or high-wind warning.
How do you make a seated scarecrow without a frame?
This is the quickest version and needs no tools. It works best on a porch bench, chair or hay bale.
- Stuff a pair of jeans and a flannel shirt with plastic bags or bubble wrap.
- Tuck the shirt into the jeans and safety-pin them together all around the waist.
- Sit the body on a chair or bench. Rest the head (a plastic pumpkin or stuffed burlap ball) on the collar and hold it with a hidden zip tie through the shirt to a chair slat.
- Stuff gloves and boots and tuck raffia into the cuffs.
- Zip-tie the figure to the chair and secure the chair as described above.
Pair it with a wreath on the door for a complete fall entry; our Halloween front door decorations have ideas that work through October.
How do you make small indoor scarecrows?
Mini scarecrows are a fun table or mantel project, and a good one to make with kids.
- Tomato cage scarecrow (2–3 ft): flip a wire tomato cage upside down so the prongs point up and bind them together with twine to form a “neck.” Wrap the cage in a flannel shirt or burlap skirt, add a small pumpkin or stuffed burlap head and a hat. Good for a porch corner or entry.
- Flower pot scarecrow: paint a terra-cotta pot as the body, glue on a felt patch and twine “buttons,” and top it with a small foam ball head in a burlap wrap and a mini straw hat. Fill the pot with a mum.
- Mason jar scarecrow: paint the jar, wrap a flannel strip around the middle, glue raffia hair under a mini hat and add a battery tea light inside.
- Wooden spoon or clothespin scarecrows: draw a face on the spoon bowl, dress it with a fabric scrap and raffia, and stand several in a jar of dried beans as a centerpiece or use clothespin minis as place-card holders.
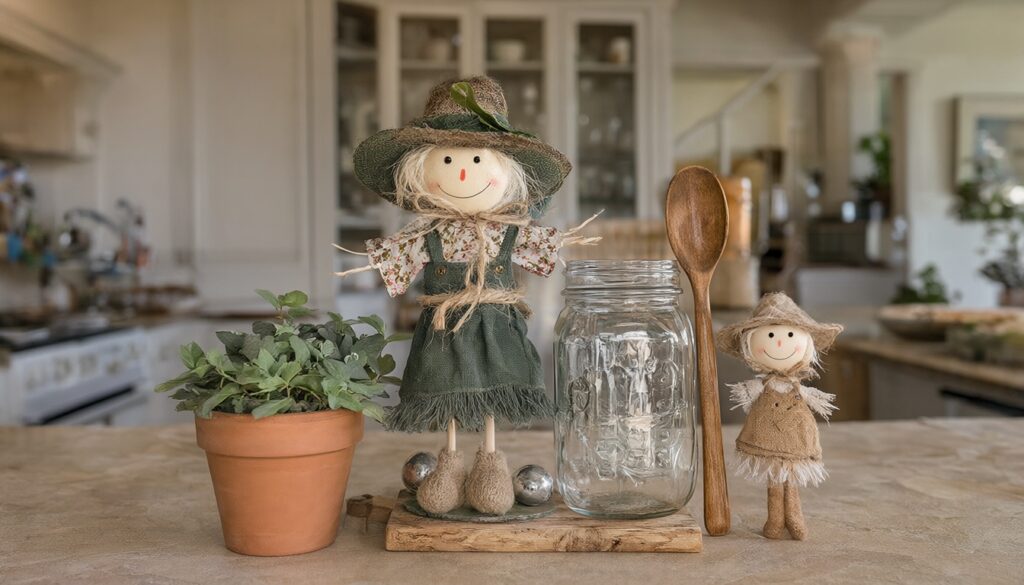
For more small projects in the same spirit, see our Thanksgiving DIY decorations and handmade home decor ideas.
What’s the best stuffing for an outdoor scarecrow?
| Stuffing | Pros | Cons |
|---|---|---|
| Plastic grocery bags | Free, light, sheds water | Can look lumpy; use many |
| Bubble wrap | Holds shape, dries fast | Need a lot for a full-size figure |
| Pool noodles | Make firm, shapely limbs | Stiff, poses are fixed |
| Polyester fiberfill | Soft, even shape | Soaks up rain, slow to dry |
| Straw or hay | Authentic look | Holds moisture, molds, attracts pests, highly flammable |
| Newspaper | Free | Turns to mush in rain; indoor only |
Scarecrow safety tips
- Fire: straw, hay and cornstalks burn fast. The NFPA advises keeping these decorations well away from open flames and heat sources. Don’t place a scarecrow near luminaries, real-candle jack-o’-lanterns, fire pits, patio heaters or hot porch lights.
- Lighting: if you add string lights or a spotlight, use LEDs and outdoor-rated cords and plug into a GFCI-protected outdoor outlet. Run cords where no one will trip.
- Walkways: keep scarecrows, hay bales and boots clear of steps and paths, especially on trick-or-treat night.
- Sharp ends: cap or cover exposed rebar tops (a tennis ball or rebar safety cap) once the scarecrow comes down.
How do you style a scarecrow display?
Build a little scene around it: a hay bale, a few pumpkins in different sizes, potted mums and a basket of gourds. Our guides to pumpkin arrangements and garden decor ideas can help you pull the yard together.
FAQ
What do you use for a scarecrow’s head?
A burlap sack or pillowcase stuffed into a ball and tied at the neck is classic. A foam or plastic pumpkin is easier and weatherproof.
How tall should a porch scarecrow be?
A standing scarecrow usually ends up 5–6 ft tall with a head, built on a 6–7 ft spine with about a foot buried or clamped in its stand. Seated scarecrows need no frame at all.
How do you keep scarecrow stuffing dry?
Use plastic bags or bubble wrap instead of straw or fiberfill, place it under a porch roof if you can, and bring it in or cover it during long rainy spells.
Do you need a frame to make a scarecrow?
Only for a standing one. Seated scarecrows on a chair or hay bale can be stuffed clothes pinned together and tied in place.