How to Use a Paint Sprayer Indoors
Employing a paint sprayer indoors offers a convenient and effective approach for managing extensive painting tasks. Whether you’re refreshing walls, furnishings, or various surfaces, utilizing a paint sprayer can facilitate attaining a polished and professional outcome. Nonetheless, adhering to appropriate safety measures and methodologies is crucial to ensure indoor painting is both successful and secure. Here’s a detailed walkthrough on effectively utilizing a paint sprayer indoors.
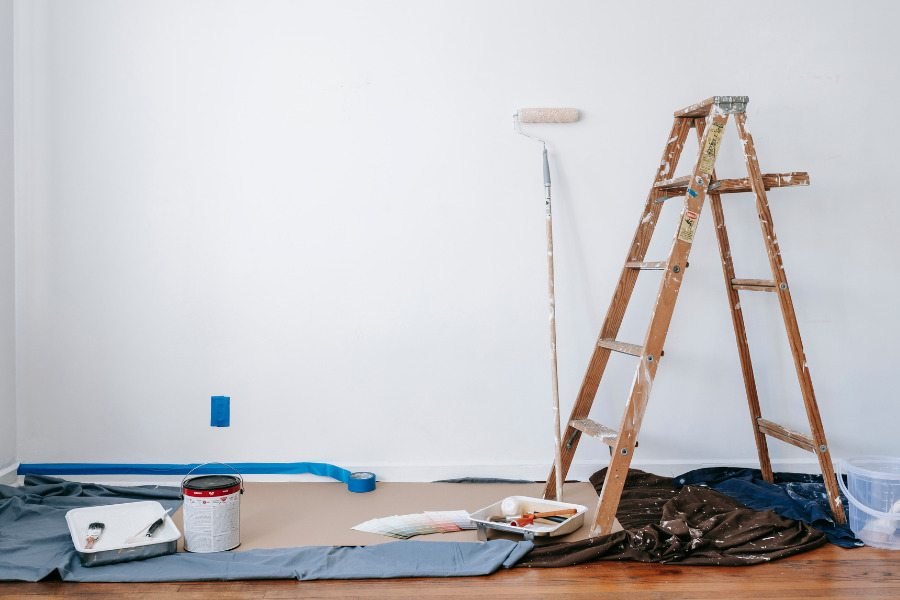
Prepare the area:
Before you begin painting, prepare the indoor space properly. Remove or cover furniture, rugs, and other items that could be damaged by overspray. Use drop cloths or plastic sheets to protect the floor and any remaining fixtures. Open windows and doors to provide adequate ventilation, or consider using a fan or air purifier.
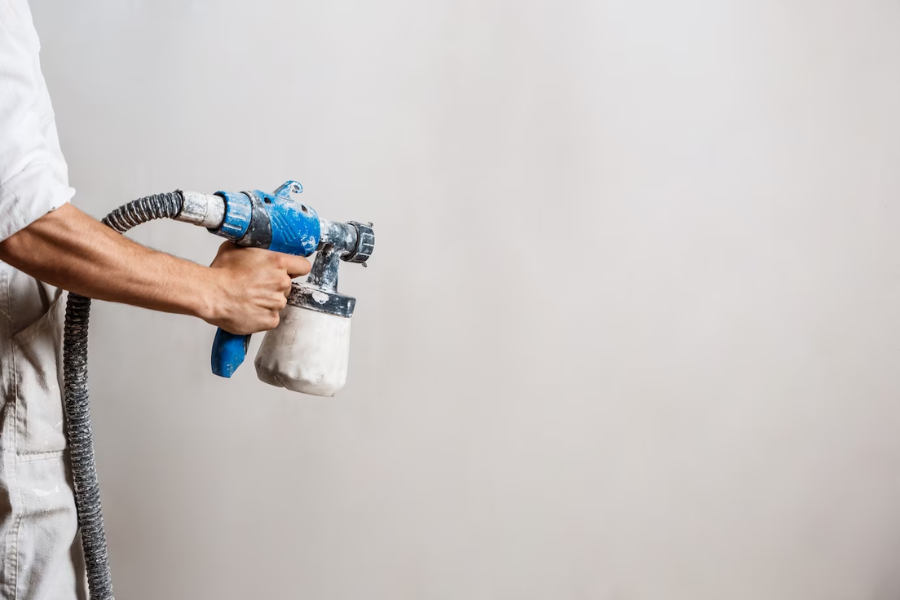
Choose the right paint sprayer:

Selecting the appropriate paint sprayer for your indoor project is crucial. Consider the size of the area you’ll be painting and the type of paint you’ll be using. HVLP (High Volume Low Pressure) sprayers are often preferred for indoor use due to their reduced overspray and finer atomization of paint particles.
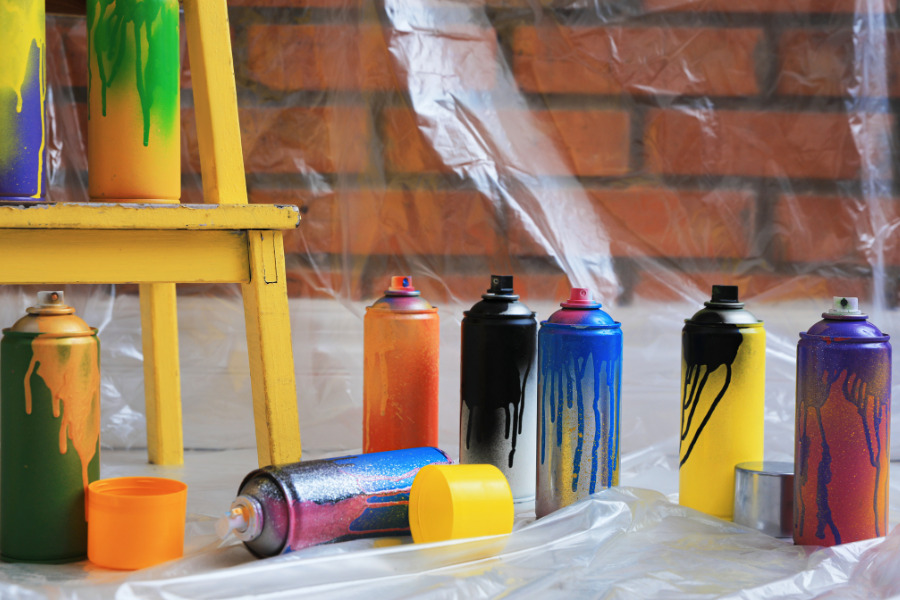
Gather your materials:
Besides the paint sprayer, gather all the necessary materials. These typically include paint, a paint strainer, a mixing stick, a paint bucket, a respirator mask, safety goggles, gloves, and appropriate cleaning supplies.
Prepare the paint:
Read the paint manufacturer’s instructions and prepare the paint accordingly. Strain the paint to remove any impurities that could clog the sprayer. Mix the paint thoroughly with a mixing stick to ensure an even consistency.
Assemble and Prime the Sprayer:
Follow the instructions provided with your paint sprayer to assemble it correctly. Prime the sprayer by filling the paint bucket with a small amount of paint and running it through the sprayer until the paint flows evenly.
Adjust the Settings:
Before you start painting, adjust the settings on your sprayer. This may include adjusting the spray pattern, flow rate, and air pressure. Refer to the manufacturer’s instructions for guidance on the specific adjustments for your sprayer model.
Practice the Spraying Technique:
Before applying paint to the walls or other surfaces, practice your spraying technique on a piece of cardboard or scrap material. This will help you get familiar with the sprayer’s pattern and ensure you achieve the desired coverage and finish.
Start Painting:

Begin the painting in a methodical manner, starting from the top and working your way down. Hold the sprayer about 6-10 inches away from the surface and maintain a consistent distance throughout. Use smooth and even strokes, overlapping each pass slightly to avoid streaks or uneven coverage.
Maintain a Steady Pace:
Keep a steady and controlled pace while spraying, avoiding rapid or jerky movements. This will help maintain an even application and minimize overspray. Take breaks if needed to rest and prevent fatigue.
Clean up:
Once you’ve completed the painting, clean the sprayer thoroughly according to the manufacturer’s instructions. This usually involves flushing the sprayer with water or an appropriate cleaning solution to remove any residual paint.
Using a paint sprayer indoors can save time and provide a professional-looking finish, but it requires careful preparation and execution. By following these steps and taking the necessary safety precautions, you can achieve excellent results and transform your indoor spaces with ease.