The easiest pumpkin ideas fall into two camps: no-carve looks you can finish in minutes with paint, tape or stickers, and simple carves that need only a serrated knife and an hour. Below, every idea is sorted by effort, from a five-minute project to an afternoon one, so you can pick what fits the time you actually have.
Which pumpkin idea fits the time you have?
Start with how long you want to spend and whether you want to deal with pulp. No-carve ideas work on real or faux pumpkins and last for weeks. Carved ideas glow at night but last days, not weeks, once cut.
| Effort level | Time | Mess | Lasts | Best for |
|---|---|---|---|---|
| Level 1: Grab-and-go | 5–15 min | None | Weeks (real) / years (faux) | Toddlers, last-minute decorating |
| Level 2: Paint and craft | 30–60 min plus drying | Low | Weeks | Kids 4+, mantels, tables |
| Level 3: Simple carves | 45–90 min | High | About 3–7 days | Porches, classic jack-o’-lanterns |
| Level 4: Afternoon projects | 2–3 hours | Medium to high | Varies | Showpiece displays |
Level 1: What are the fastest no-carve pumpkin ideas?
These need no tools beyond scissors and maybe a glue dot. They are the safest choice for very young kids.
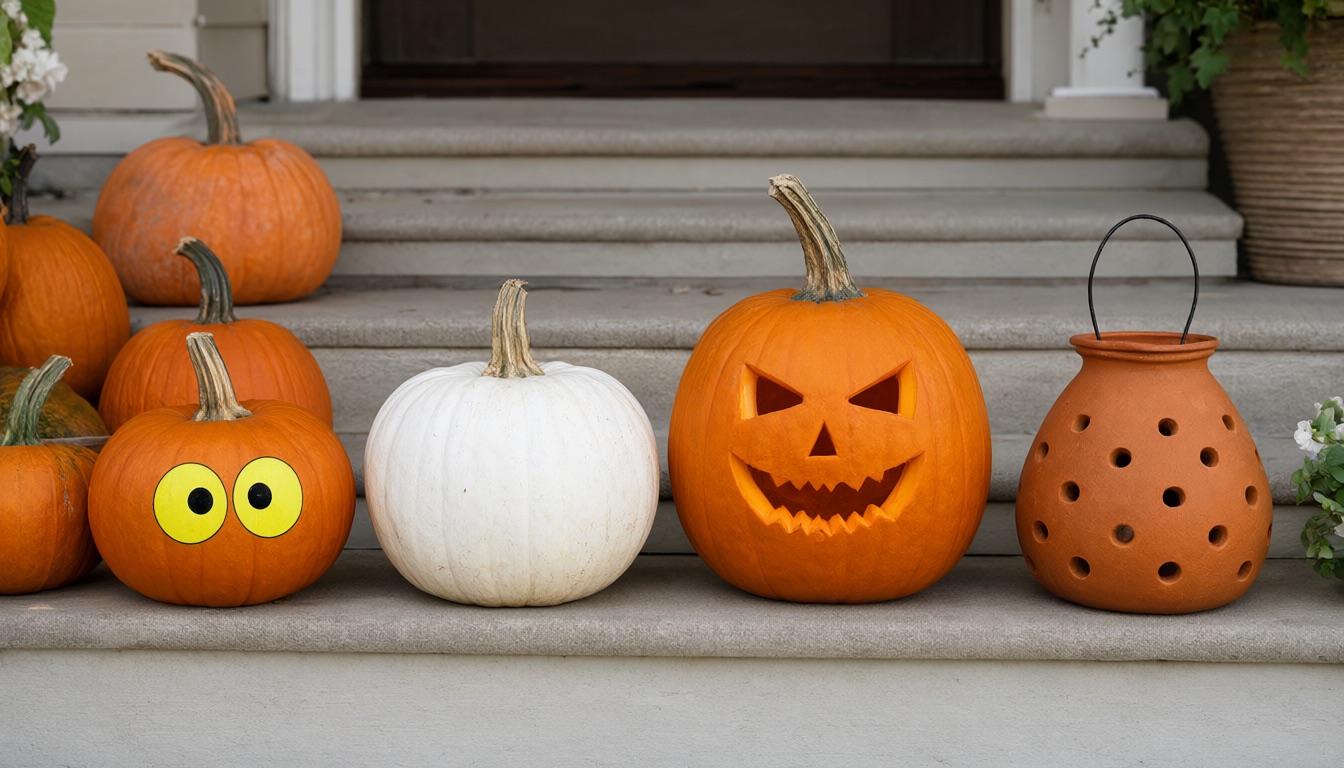
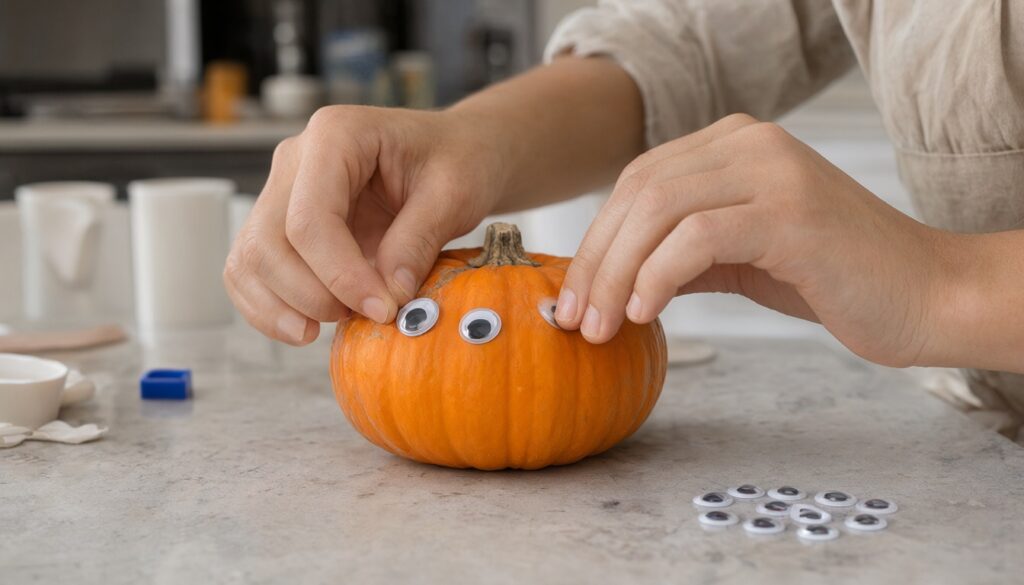
- Sticker or googly-eye faces. Stick a few mismatched googly eyes on the pumpkin. Use craft glue dots, because the sticky backing often falls off cool, damp pumpkin skin. One huge eye on a small pumpkin looks like a cyclops, and a dozen tiny eyes looks creepy and funny.
- Push-in kits and props. Plastic arms, teeth or witch hats that push into the flesh turn a plain pumpkin into a character with zero carving.
- Washi or electrical tape stripes. Wrap tape from stem to base along the ribs. Black tape on a white pumpkin gives a graphic look; metallic tape works for fall-through-Thanksgiving decor.
- Dry-erase or chalk-marker faces. Let kids draw a face, wipe it off, and draw a new one. A cheap way to get repeat use out of one pumpkin.
- Ribbon and stem tie. A wide velvet or burlap bow at the stem dresses up heirloom pumpkins for an entry table.
Level 2: Which painted and crafted pumpkins are easy but look finished?
Plan for drying time. Acrylic craft paint usually needs two coats on orange skin, and you should wipe the pumpkin with a damp cloth and let it dry first so paint grips.
- Two-tone dipped pumpkin. Mask a line around the middle with painter’s tape and paint the bottom half white, black or a muted color. Peel the tape while the paint is slightly tacky for a crisp edge.
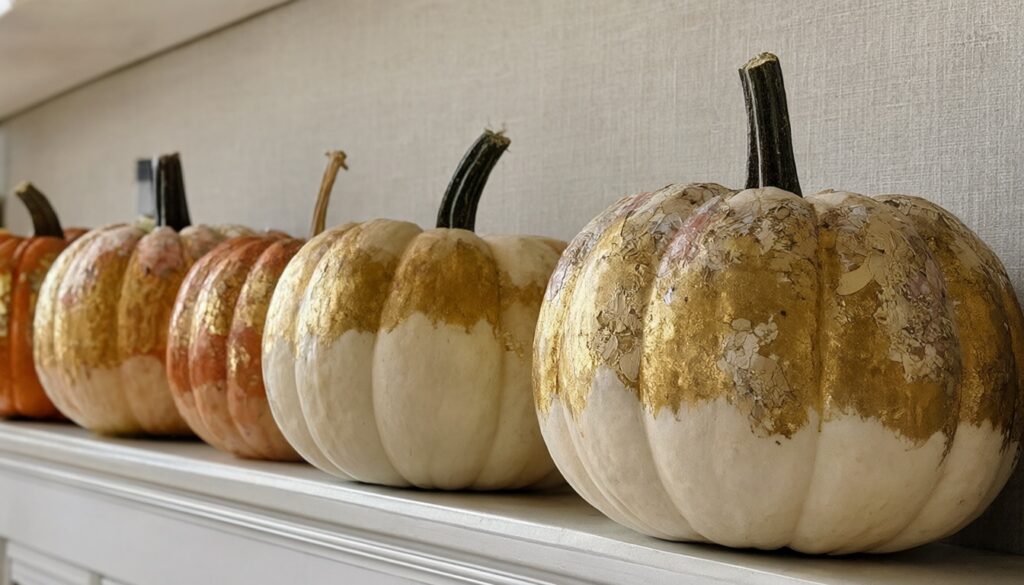
- Metallic foil or gold-leaf look. Paint the pumpkin a flat base color, brush on size (leaf adhesive) in patches, then press on imitation metal leaf and rub off the excess. Faux pumpkins make this a keep-forever piece.
- Lace or doily decoupage. Brush decoupage medium over a small area, lay on lace ribbon or a paper doily, and seal with another coat. Let each coat cure before handling.
- Puffy-paint designs. Raised dots, drips and swirls add texture without carving. Our puffy paint pumpkins guide covers how to keep lines even and how long to let them set.
- Painted monster minis. Mini pumpkins plus craft paint, cheesecloth for mummy wrap and a marker for stitches make a row of little monsters. Supervise any hot-glue step, as a low-temp glue gun is the safer choice around kids.
- Emoji faces. Spray or brush a pumpkin yellow, then cut felt hearts, winks and smiles. Kids can swap the felt features around.
When you’re done, clean up straight away: acrylic dries fast in bristles. Here’s how to clean paint brushes so they survive to the next project.
Level 3: What are the easiest pumpkins to carve?
Simple carves rely on bold shapes and few cuts. Pick a pumpkin with a flat base, firm skin and a sturdy green stem, and give yourself a work surface lined with newspaper or a trash bag.
What you need
- A medium pumpkin (roughly 8–12 inches tall)
- A small serrated pumpkin saw or kit saw (safer than a kitchen knife, because it cuts with a sawing motion instead of force)
- A large metal spoon or ice-cream scoop
- A washable marker or ballpoint pen to sketch the design
- A battery tea light or LED puck light
How to carve a basic jack-o’-lantern
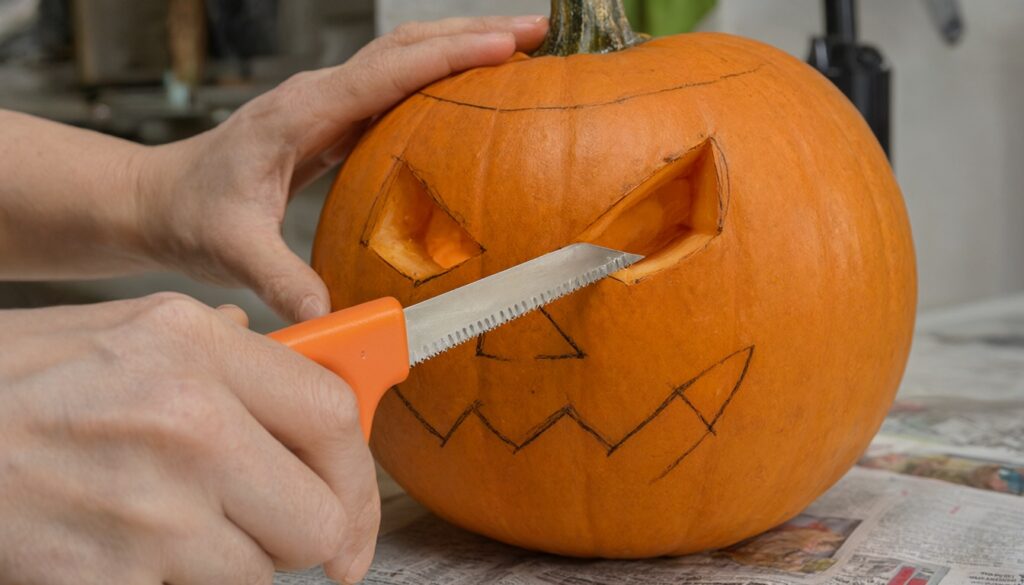
- Cut the lid from the back or base, angled inward so it won’t fall through. A bottom opening lets you set the pumpkin straight over a light.
- Scoop out seeds and stringy pulp. Scrape the wall where the face will go until it’s about 1 inch thick.
- Draw the design. Keep features at least half an inch apart so the wall between them doesn’t snap.
- Saw slowly with short strokes, cutting the smallest details first and the biggest openings last.
- Push the cut pieces out from the inside with a fingertip, then add your light.
Easy carve ideas to try
- Triangle-and-zigzag classic. Two triangle eyes, a triangle nose and a zigzag grin. Every cut is a straight line.
- Single big shape. One bat, star, moon or ghost silhouette centered on the front. Fewer cuts mean fewer chances to slip.
- Drilled-dot patterns. A cordless drill and a spade or regular bit make polka dots, spirals or constellations quickly. See our pumpkin designs with a drill for bit sizes and patterns.
- Mason-jar silhouette. Carve the outline of a canning jar and a few “fireflies” inside it. A charming design that’s mostly straight lines and dots.
- Cute or funny faces. If a classic face feels too plain, try a sleepy, winking or kitty face from our cute carved pumpkin ideas, or a goofy expression from our funny carved pumpkins list.
Level 4: Which afternoon pumpkin projects are worth the extra time?
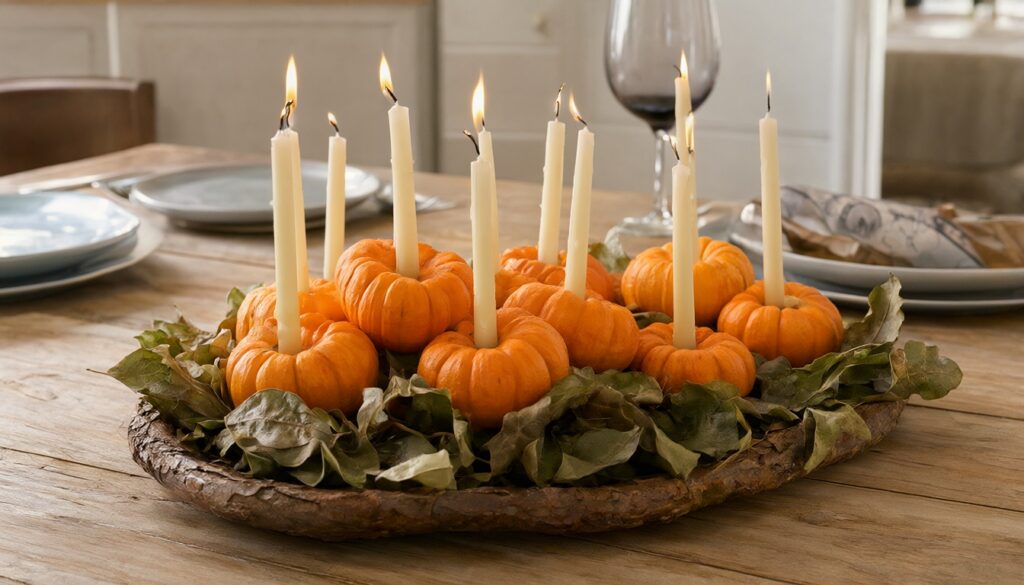
- Candleholder centerpiece. Drill holes in a few small pie pumpkins to fit taper or tea-light candles, then nestle them in fall leaves down a table runner. Flameless candles are the better choice near leaves and kids; see these flameless candle decorating ideas.
- Stacked pumpkin snowman-style tower. Stack two or three pumpkins of decreasing size, painted white with simple black faces, on a wreath base for the porch. Skewer them together with a wooden dowel so wind can’t topple them.
- Fairy-tale carriage. An oval pumpkin with four small apples or mini gourds pinned on as wheels, plus gold paint scrolls, makes a sweet tabletop piece.
- Hot air balloon pumpkin. A pumpkin “balloon” suspended over a small basket is a showstopper for a shelf. Follow our hot air balloon pumpkin tutorial.
- Mini pumpkin lanterns. Tiny carved minis lined up along steps or a windowsill. They’re fiddly, so read our mini pumpkin carving ideas for tool tips first.
How do you keep kids safe while decorating pumpkins?
- Under about age 6, stick to Level 1 and 2 ideas. Kids draw the design or scoop the seeds; an adult does all cutting.
- Older kids can use the small serrated saws from carving kits under supervision. Keep the free hand away from the blade’s path.
- Carve on a dry surface with dry hands; wet pumpkin skin is slippery.
- Use battery lights instead of candles. The NFPA’s Halloween guidance recommends flashlights or battery candles in jack-o’-lanterns, and keeping any lit pumpkin well away from costumes, walkways and anything that can burn.
How long will your pumpkin last?
Uncarved real pumpkins kept cool and out of direct sun can last for weeks, which is why no-carve ideas are a good choice if you decorate early. Carved pumpkins are a different story. They usually last only about 3 to 7 days, according to Kansas State University’s horticulture extension. Carve within about three days of Halloween, keep the pumpkin shaded, use LED light instead of a flame (heat speeds rot) and bring it indoors if a freeze is forecast.
Once your pumpkins are ready, group them. Odd-numbered clusters of mixed sizes look intentional; our pumpkin arrangement ideas and Halloween front door decorations show how to build a full entry display.
FAQ
What is the easiest way to decorate a pumpkin without carving?
Googly eyes, push-in props or tape stripes take under 15 minutes and need no paint. Painting takes longer only because of drying time.
What is the easiest thing to carve on a pumpkin?
A face made of straight cuts (triangle eyes and nose, zigzag mouth) or a single large silhouette such as a moon or bat. Drilled dots are even easier if you own a drill.
Is it better to carve from the top or the bottom?
The bottom or back. A base opening lets you set the pumpkin over a light and keeps the top and stem intact, so it holds its shape a little longer.
Can you paint a real pumpkin?
Yes. Wipe it clean, let it dry fully, and use acrylic craft paint or a spray primer first. Painted uncarved pumpkins last as long as plain ones.